Mamiya 645 PRO Mirror Stop: Pitfalls of 3D Printed Replacements
Originally posted on Instagram. Notes from the repair bench, kept here as a searchable archive. View the original on Instagram
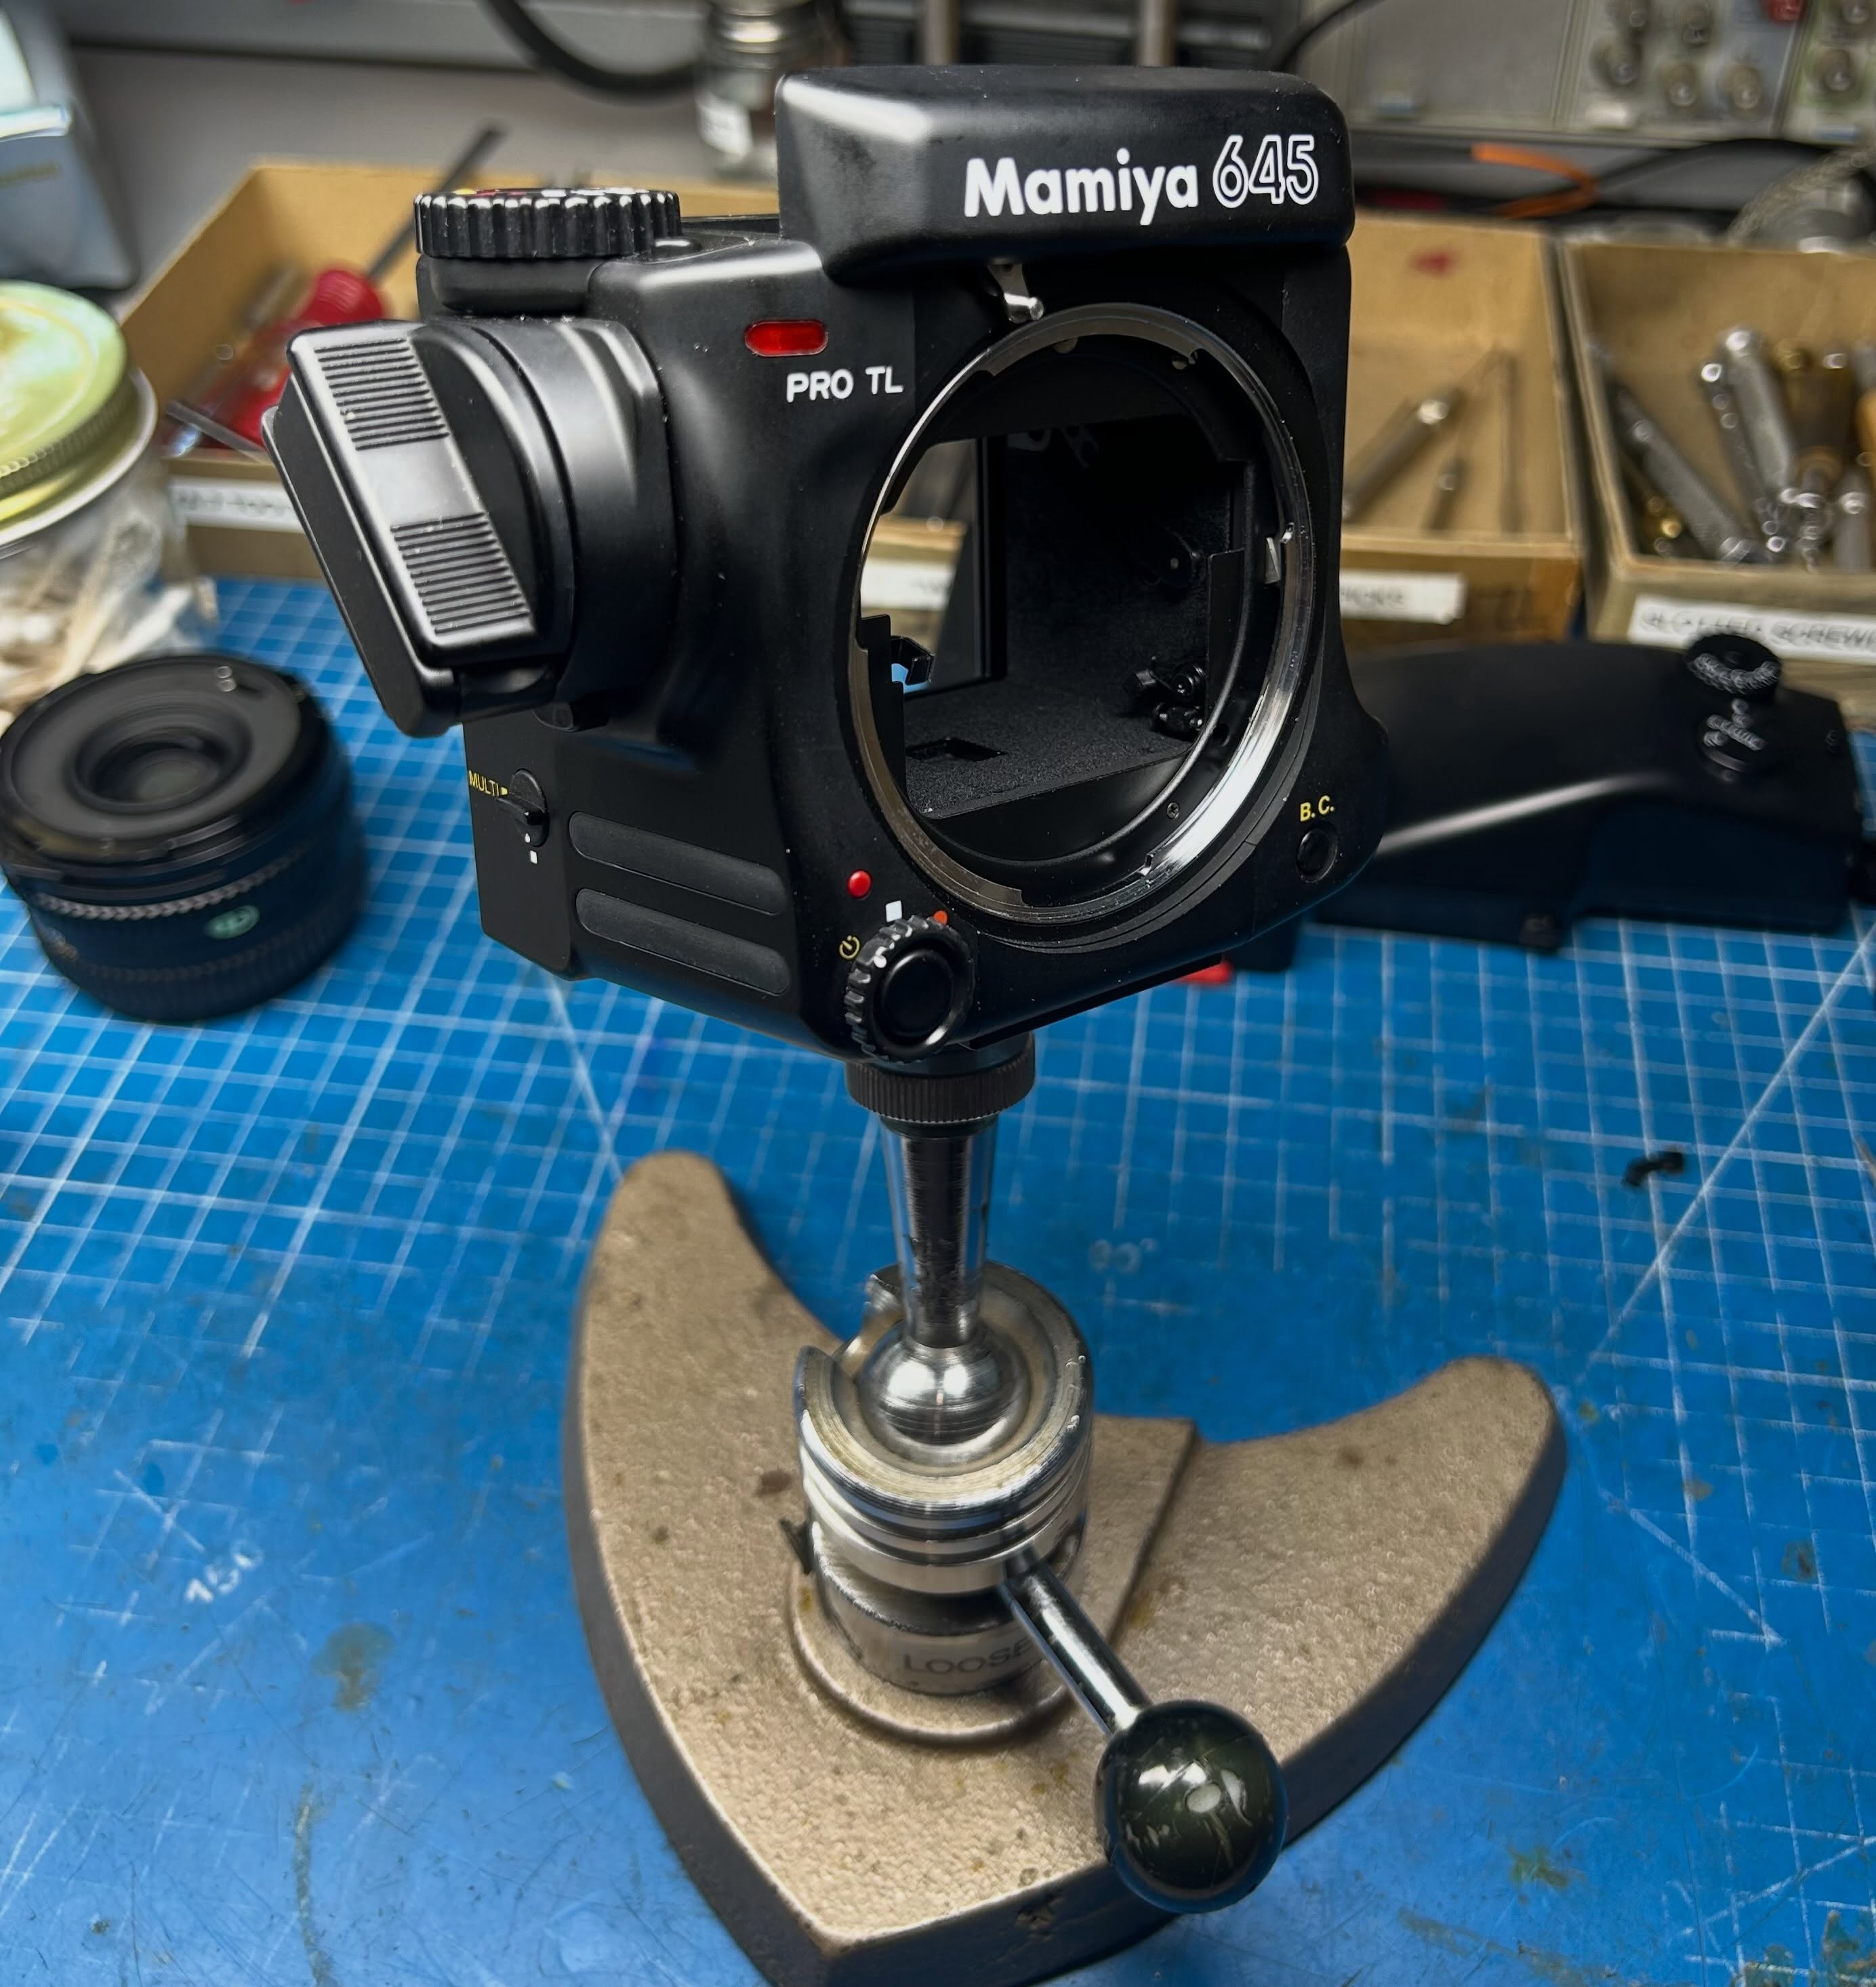
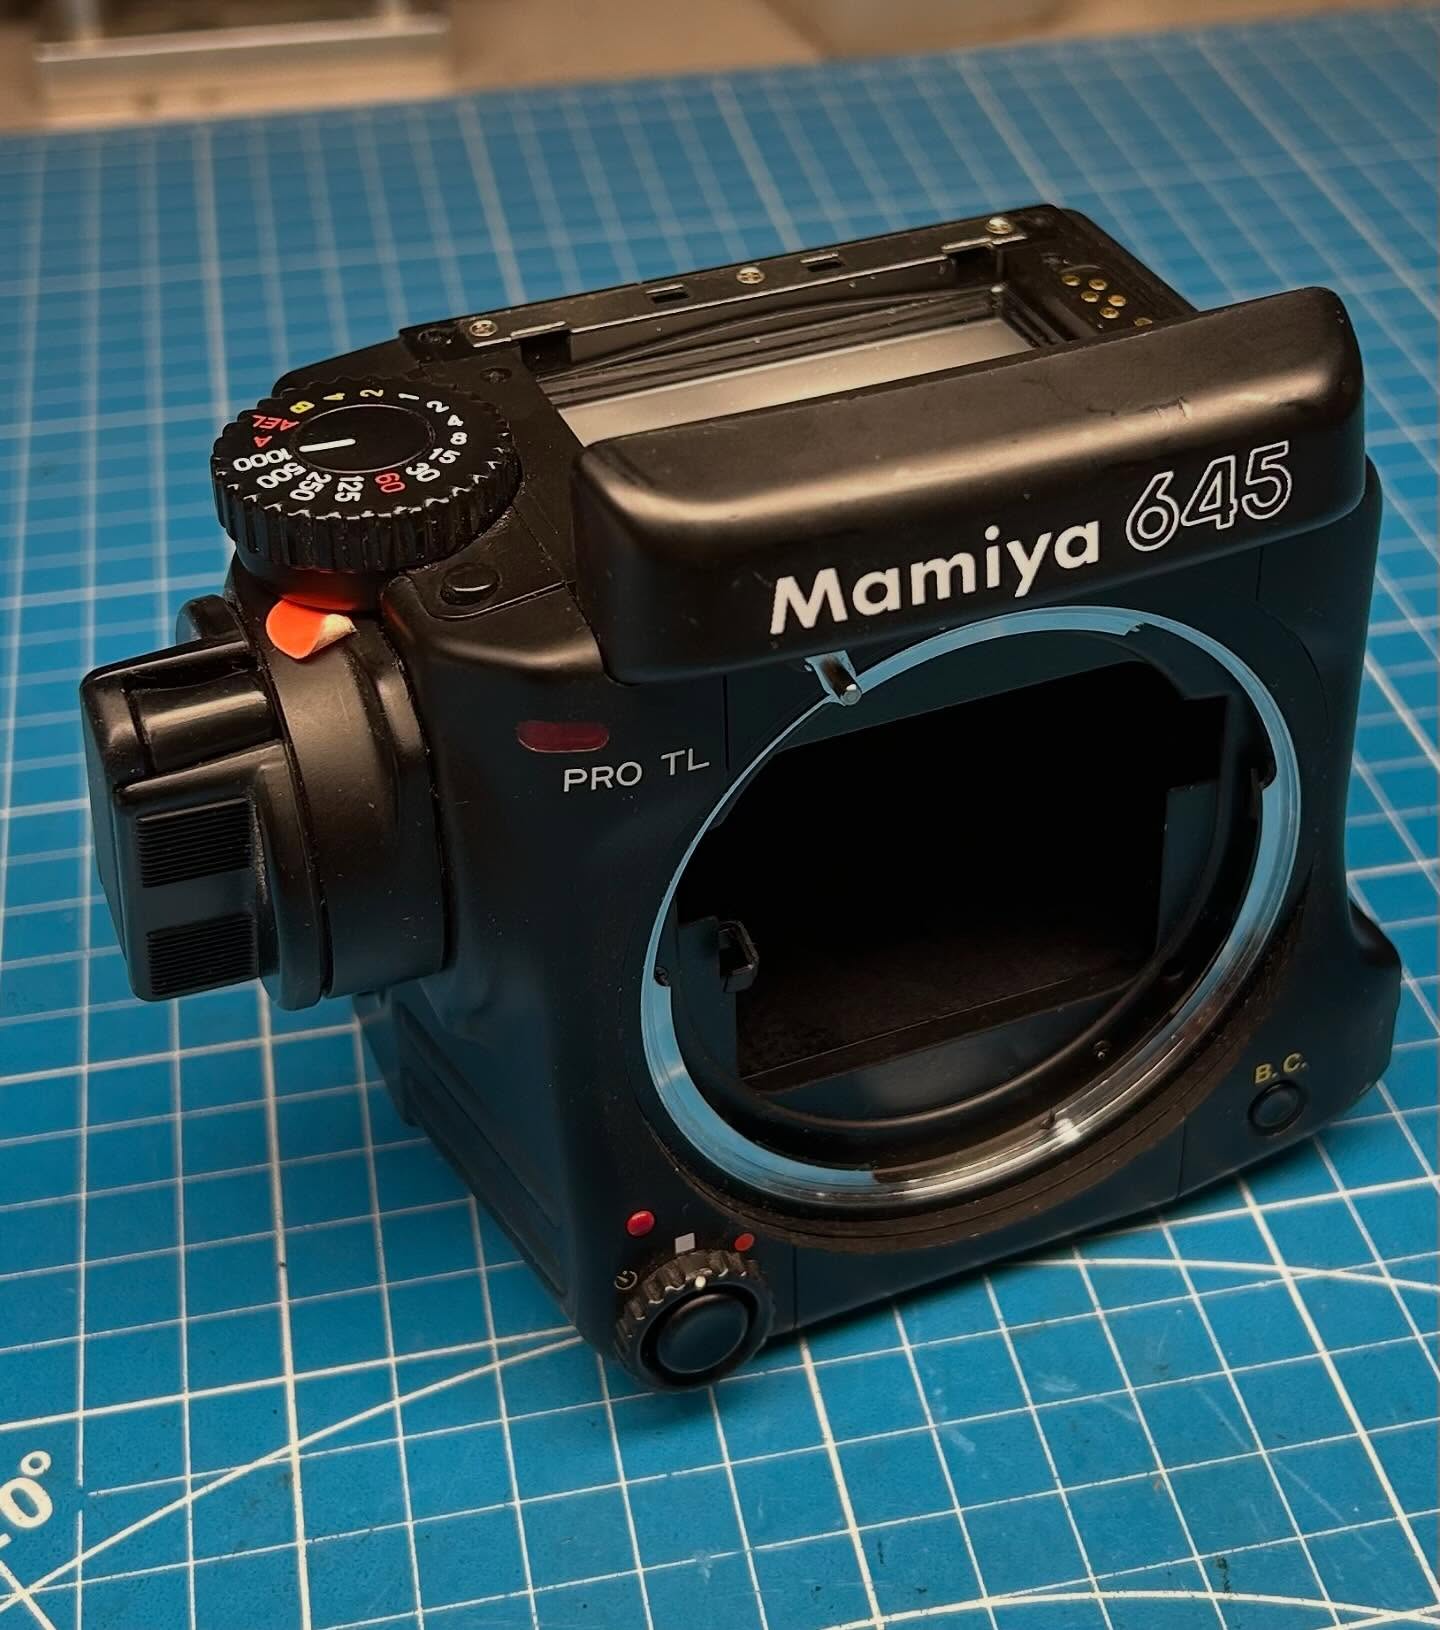
While replacing the mirror stop in this Mamiya 645 PRO, I feel it is time to talk about this procedure again. By now, many have decided to replace the broken mirror stop on their own. And, at first glance this appears to be a good DIY repair: you can have the mirror stop printed via additive manufacturing (3D printing). Here are some of the details that will come up:
1.) Material choice for the stop is important. I have seen PLA prints that in my opinion were a little too flexible.
2.) Often, the bushing hole is too small. Not a problem, it can be reamed out easy enough.
3.) The space between the bushing and the arm is too thin and does not allow the spring to seat properly. This also needs to be opened up with a screw slotting file.
4.) I have also seen poor resolution on the adjusting screw hole.
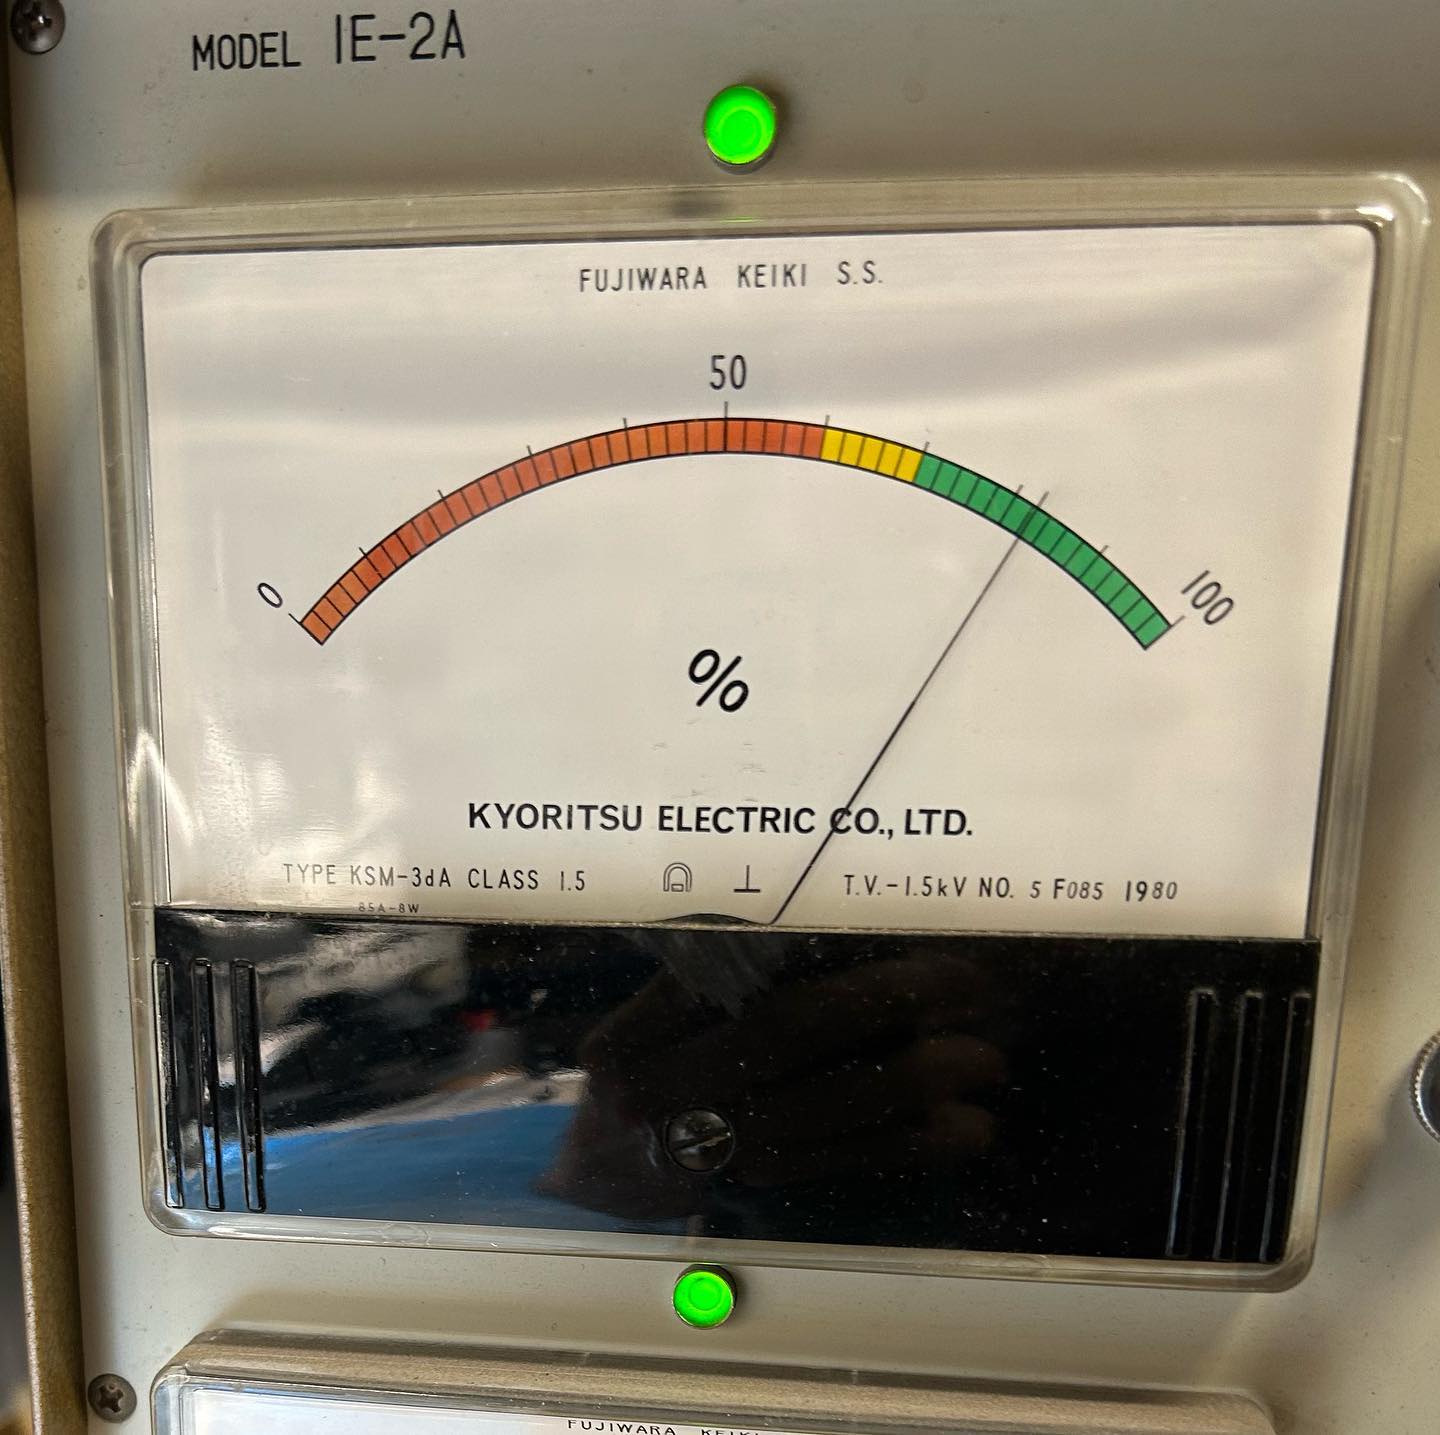
5.) Also, very important that the mirror angle be reset to 45 degrees. I use a special Mamiya factory tool and an autocollimator so that the mirror is adjusted without putting a lens in the equation. I realize this is not an option for most people. So, what is done is to adjust the viewfinder image to infinity with a lens. The questions to ask here are: Is the viewfinder screen set for proper focus (probably)? Is the lens focus set properly (maybe)?
6.) Finally, it can be challenging to install this part and the spring.
The second photo shows the 45 degree adjusting fixture and the third photo shows the four parts of the mirror stop. Often, the broken piece or the spring will get loose and cause problems in the shutter/winding.
I do hear the plastic mirror stop on the 645 Super and Pro referred to as a “flaw”, but keep in mind that these cameras are often 30 or more years old by now and may have reached the end of the use cycle that Mamiya envisioned for them.