Mamiya 6/7: Removing and Replacing Broken Viewfinder Glass
Originally posted on Instagram. Notes from the repair bench, kept here as a searchable archive. View the original on Instagram
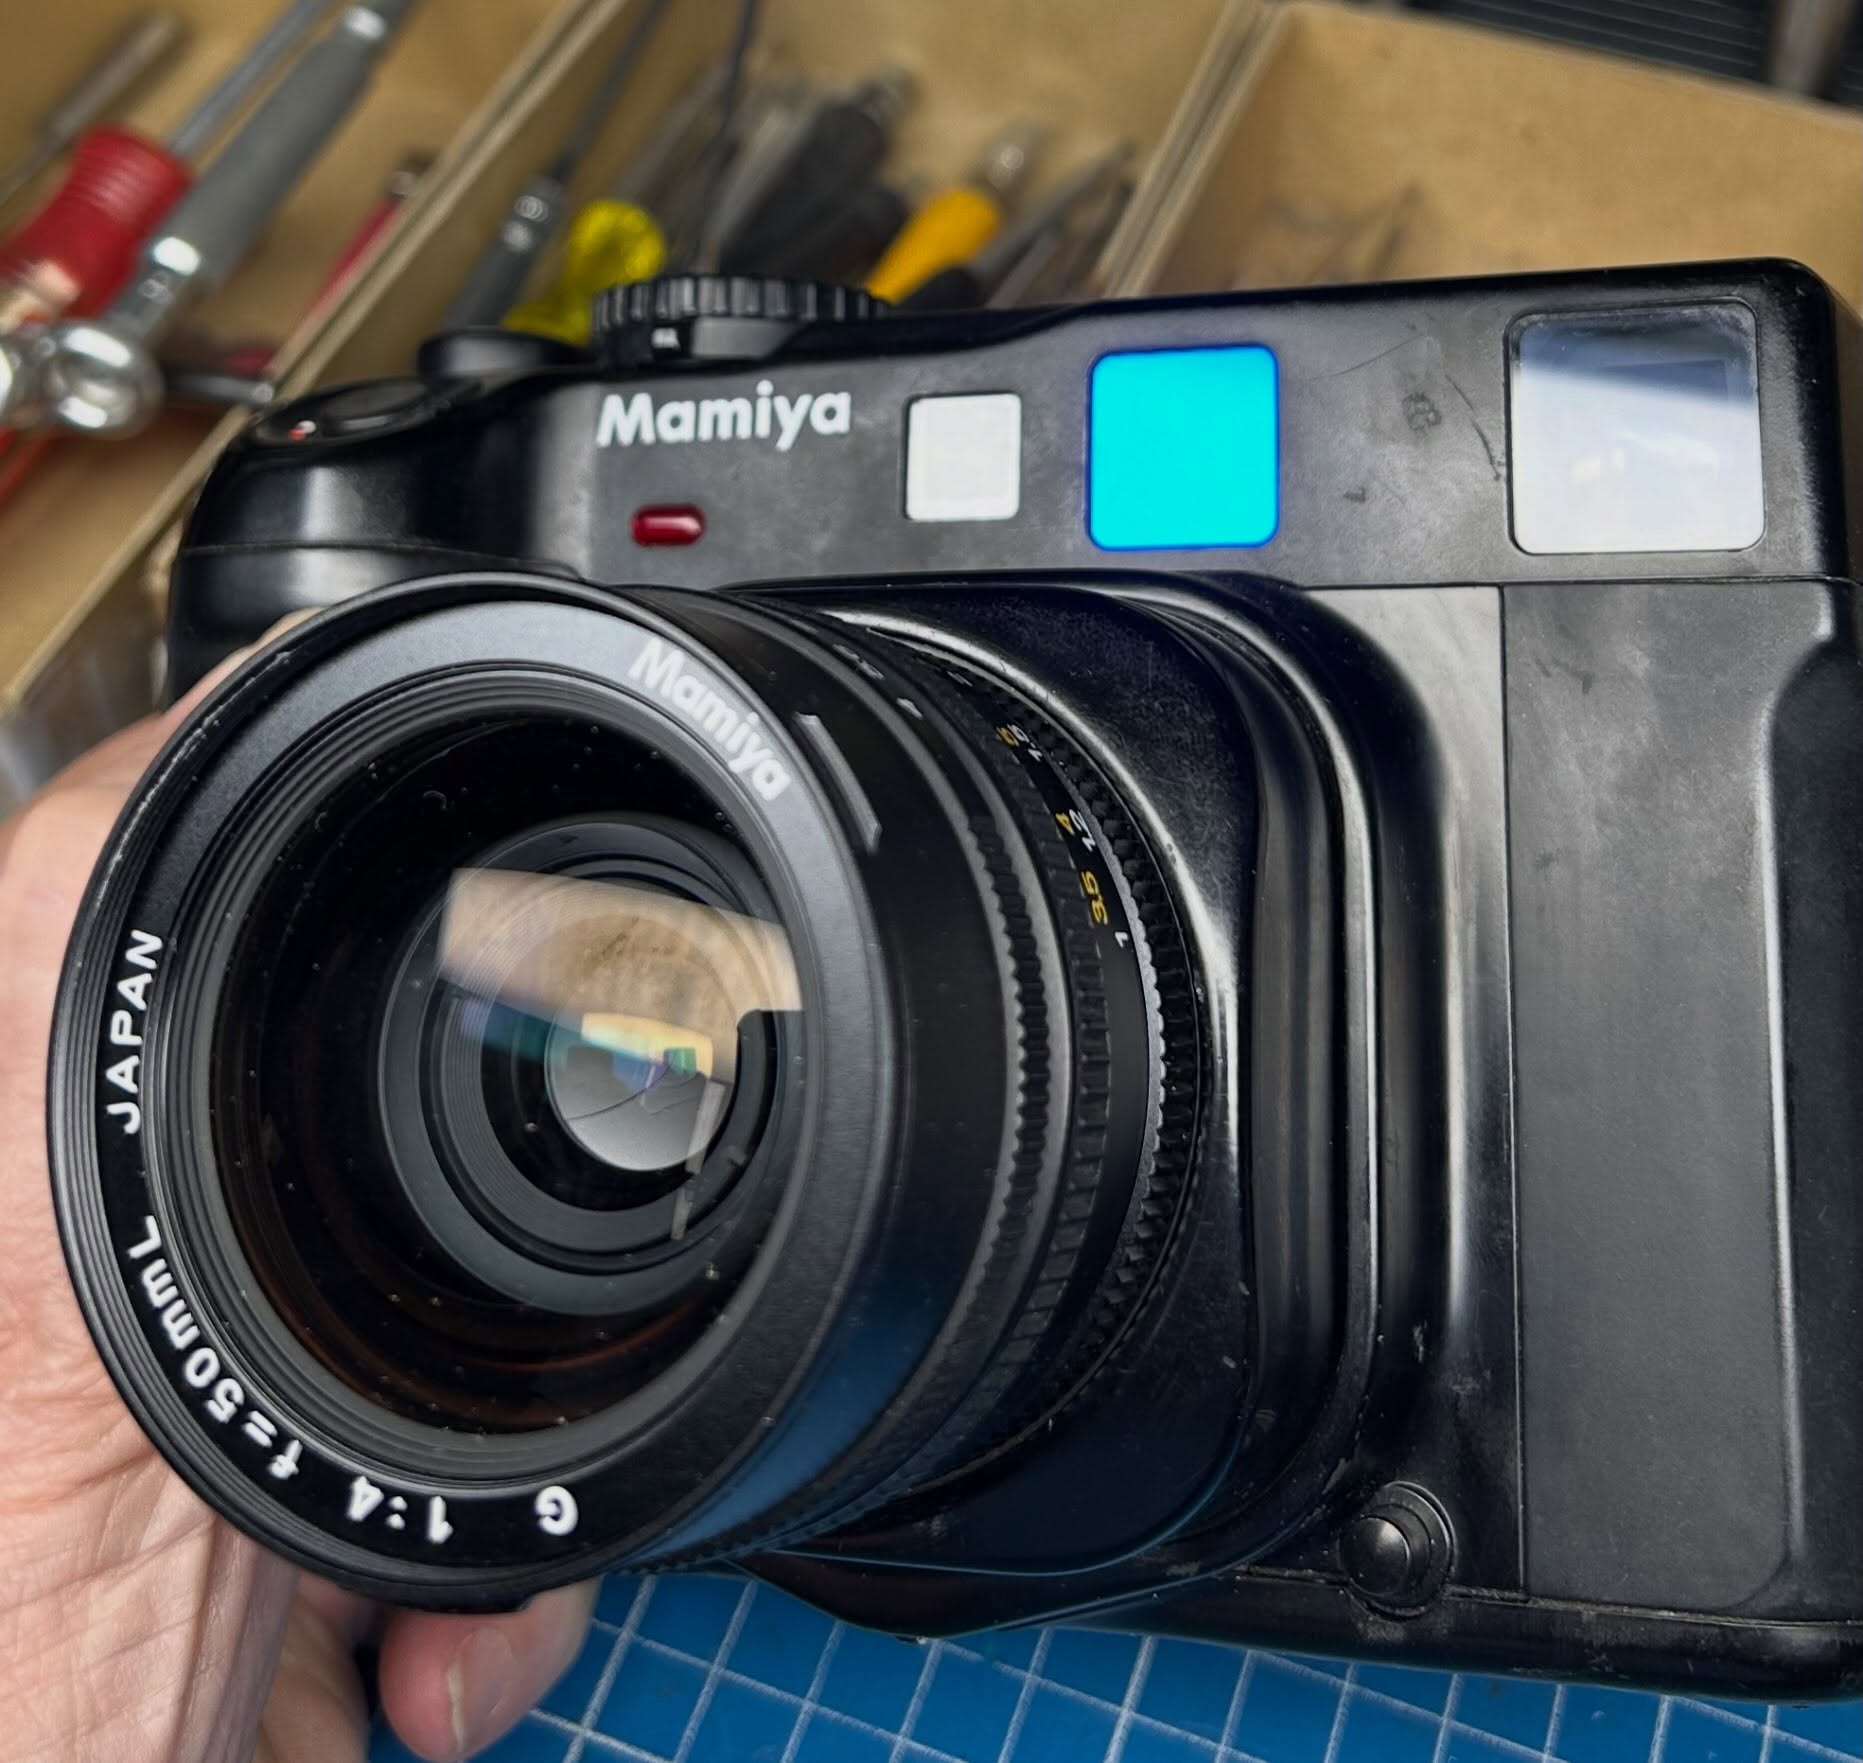
This has been a week of broken viewfinder glass repairs on Mamiya 7 and Mamiya 6.
Years ago when Mamiya was in business, the solution to this issue was to replace the top cover as they would ship with all the glass and parts installed. Of course, that is no longer an option so this turns into a little more of a process.
Often the glass is just cracked with a single line through it so I break out the glass to produce small bits as shown in the first photo. The second photo shows the top cover with the glass on an anvil so that I can fracture the glass to manageable pieces for removal.
The finder glass is glued into the top cover and all of the broken bits need to be removed by scraping them out. This can be a time consuming process because care must be taken so that the thin plastic frame on the top cover does not crack. The third photo shows a technique that I use of carefully injecting a small amount of acetone into the edge of the glass to soften the glue. You do want to be careful and not get acetone onto the top cover so only a small amount is injected into the glass/plastic interface.
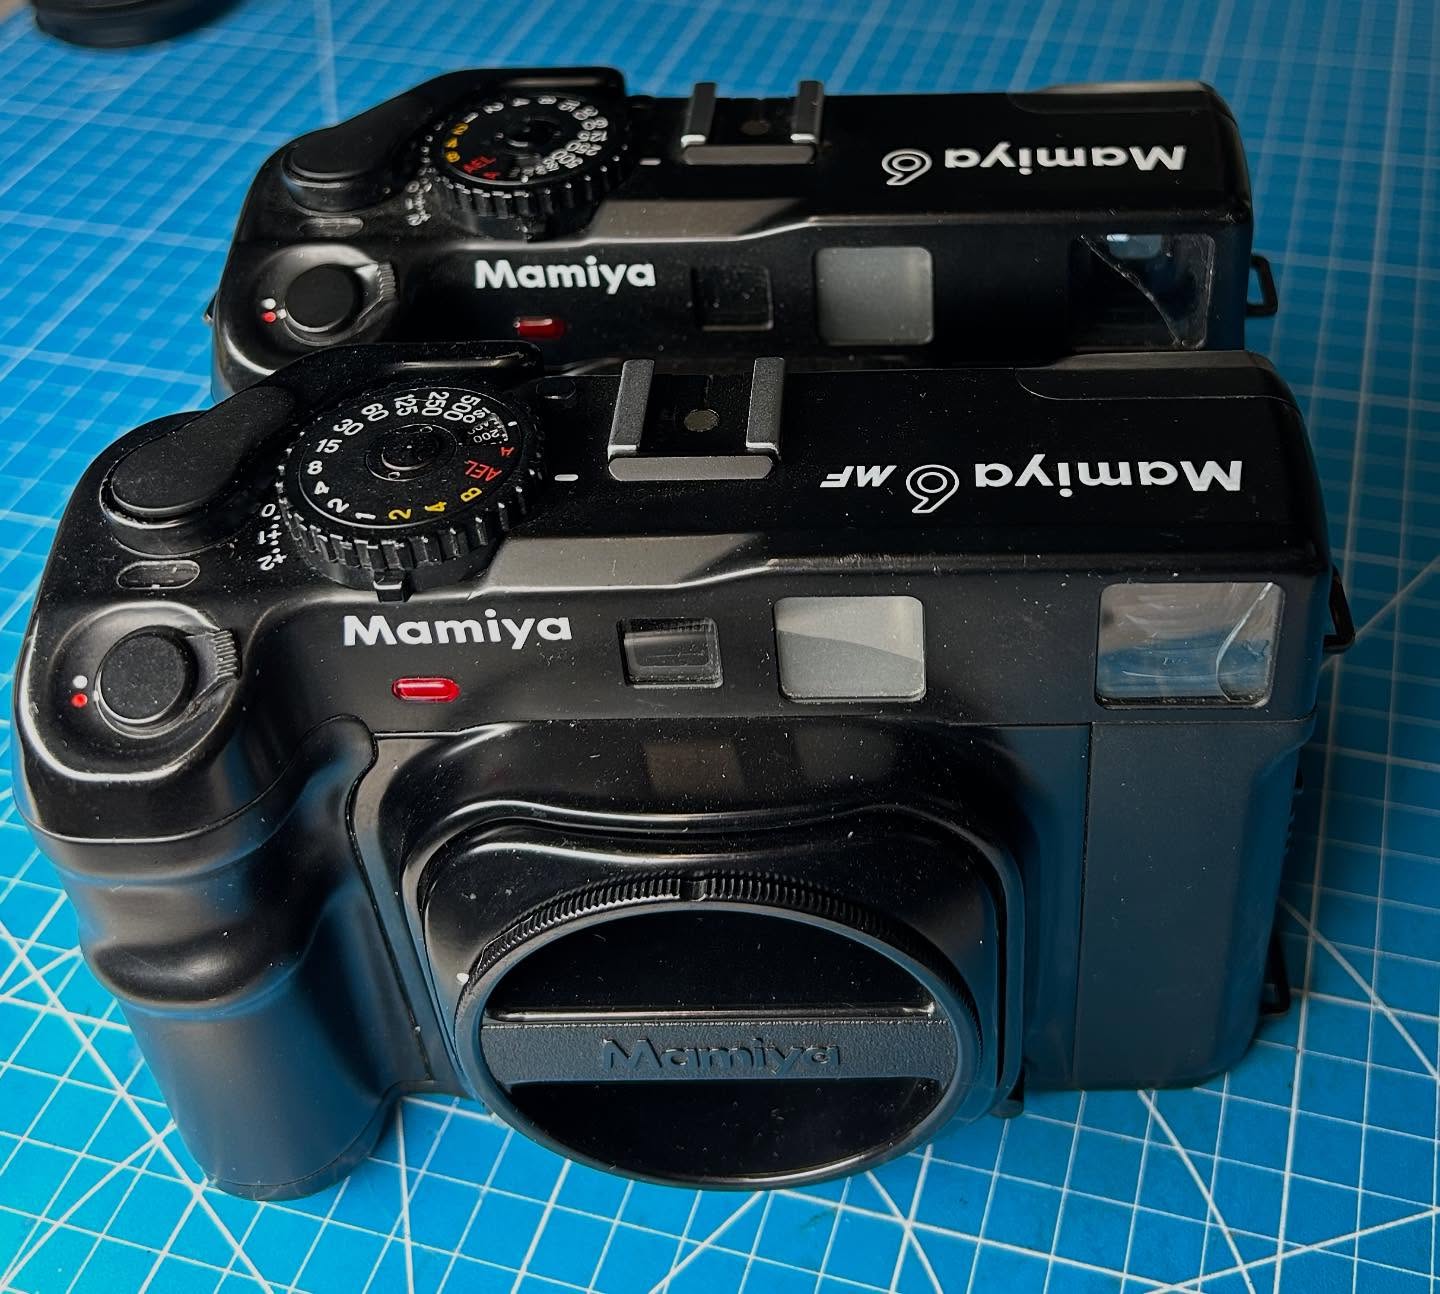
Photo four shows the final scraping with a dental pick to get all glass and glue residue out of the track. Final photo is of the finished installation. Before the top cover is installed, the rangefinder is adjusted for all modes: infinity, one meter and vertical. When the camera has impact damage to the glass, in most cases the rangefinder also will need calibration.