Mamiya 6/7: Using a Torque Wrench on the Wind Lever Screw
Originally posted on Instagram. Notes from the repair bench, kept here as a searchable archive. View the original on Instagram
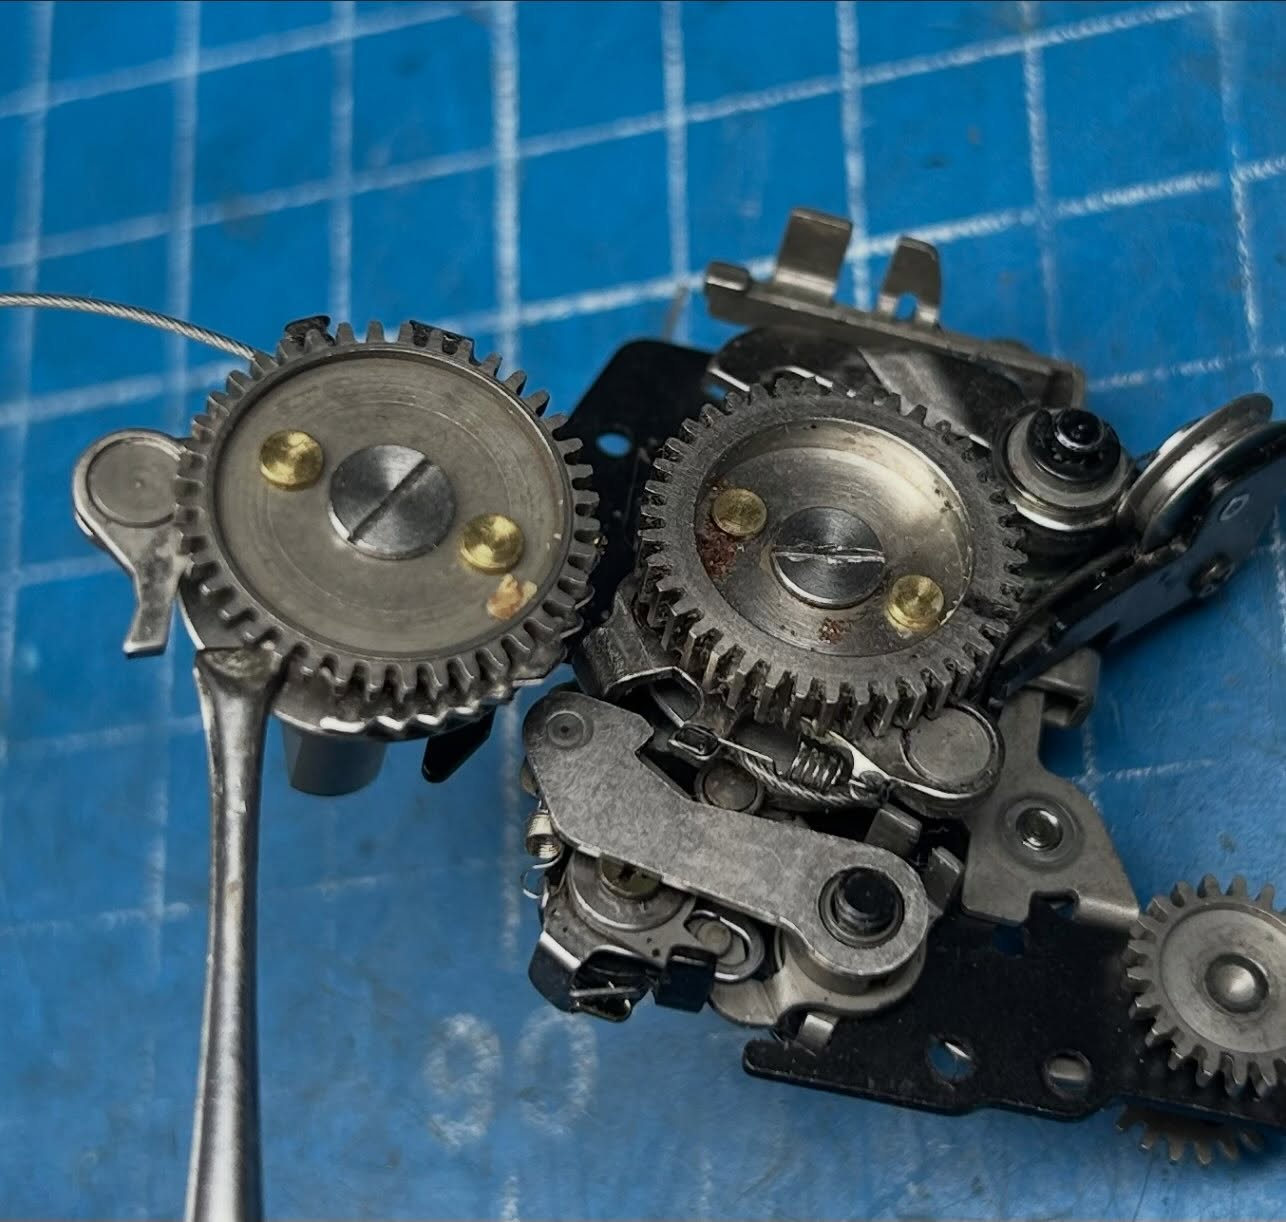
The use of a torque wrench in camera repair is probably not that common and I actually don’t use one outside of a certain task: Attaching the wind lever screw to the Mamiya 6/7.
The reason I use a torque wrench on this particular screw is that it needs to be put on tightly, but if you are overenthusiastic in applying force, the screw will snap off. This is an easy screw to break as it has a large 9mm head attached to a 2.6mm threaded screw. And if it breaks, finding another one will be a difficult task as it is a 2.6mm left hand thread screw with a very thin wafer like head. I put it on with 7 inch pounds of torque (as a reference, my dentist tells me that he installs implants at 30 Ncm which is about 2.65 inch pounds of torque).
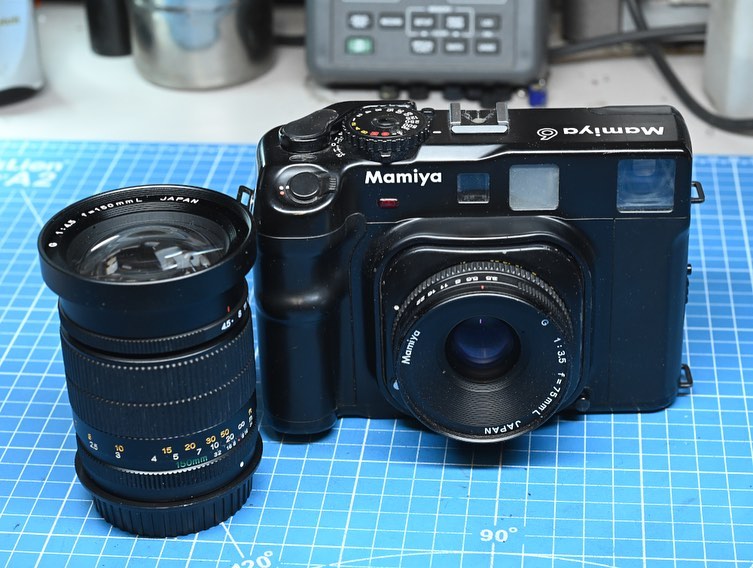
Since the lever attaching screw has a very thin wide slot (0.39mm), I made up a screw drive tip for my wrench out of a 1/4” drive socket by cutting two slots across from each other and installing a piece of stainless steel stock to form a blade as shown in photo two. My goal is to give a consistent, tightening force at the maximum I can without the risk of breaking the screw.