Mamiya 7/7II: Rangefinder Calibration and Adjusting Screw Damage
Originally posted on Instagram. Notes from the repair bench, kept here as a searchable archive. View the original on Instagram
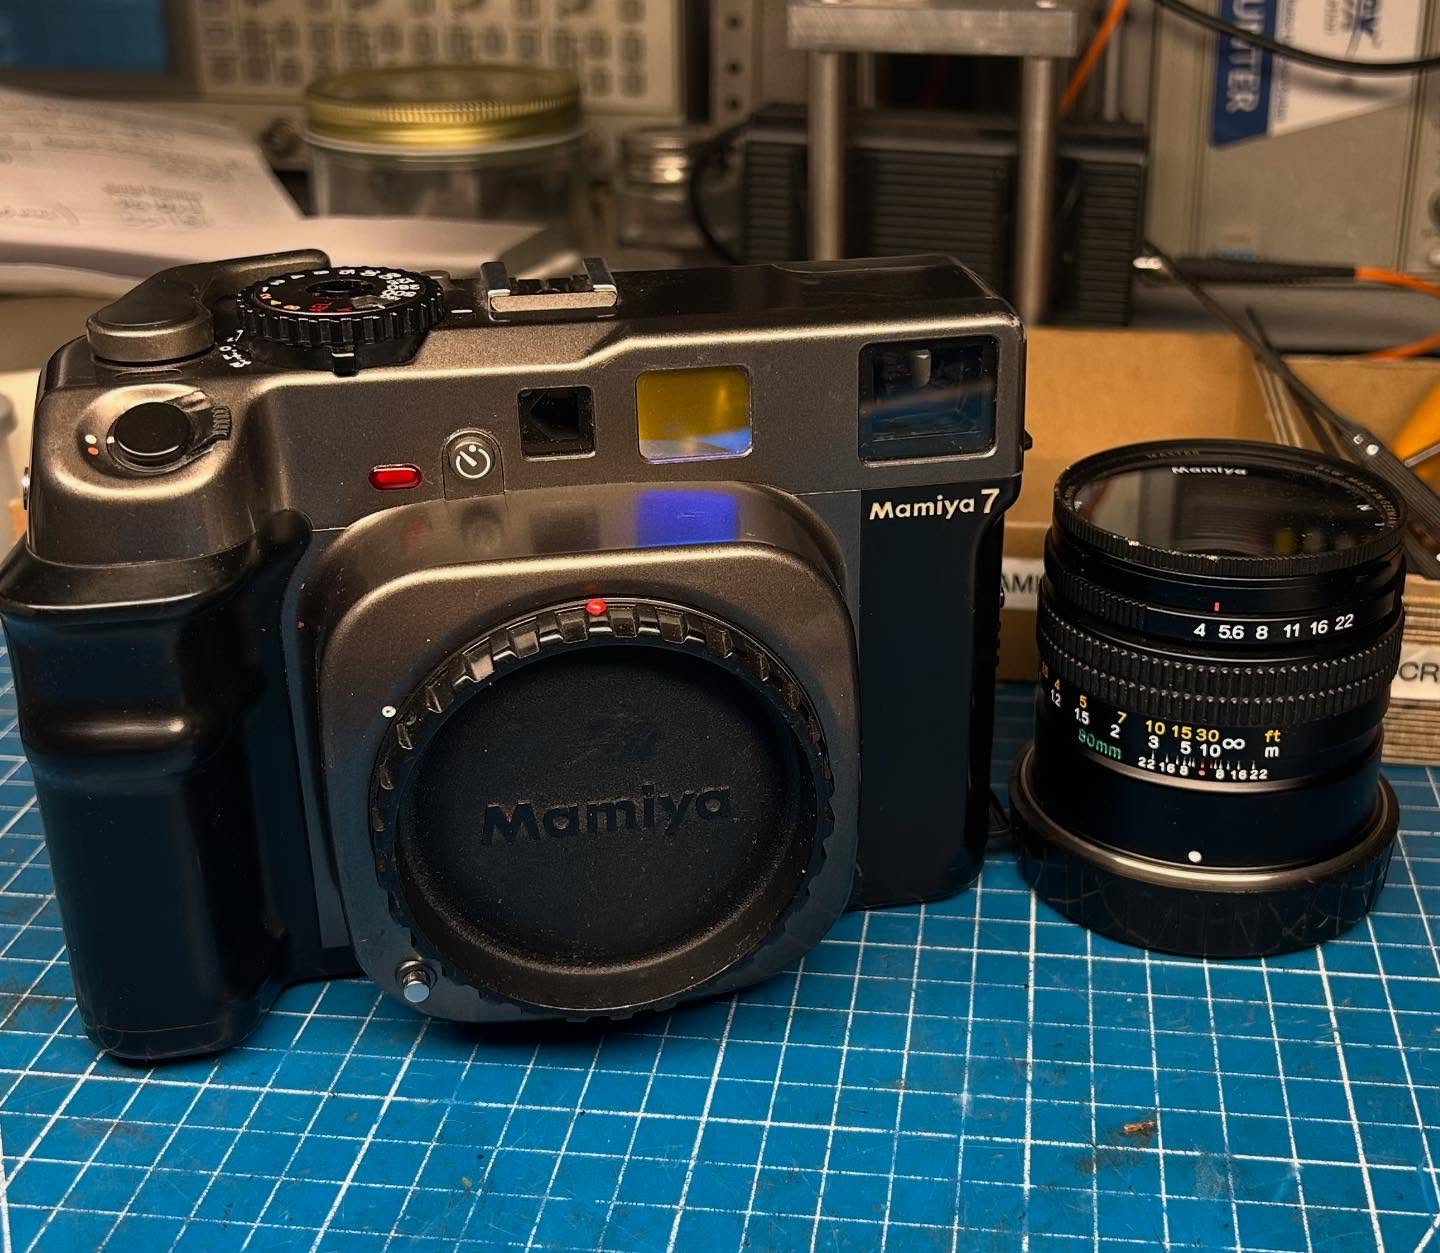
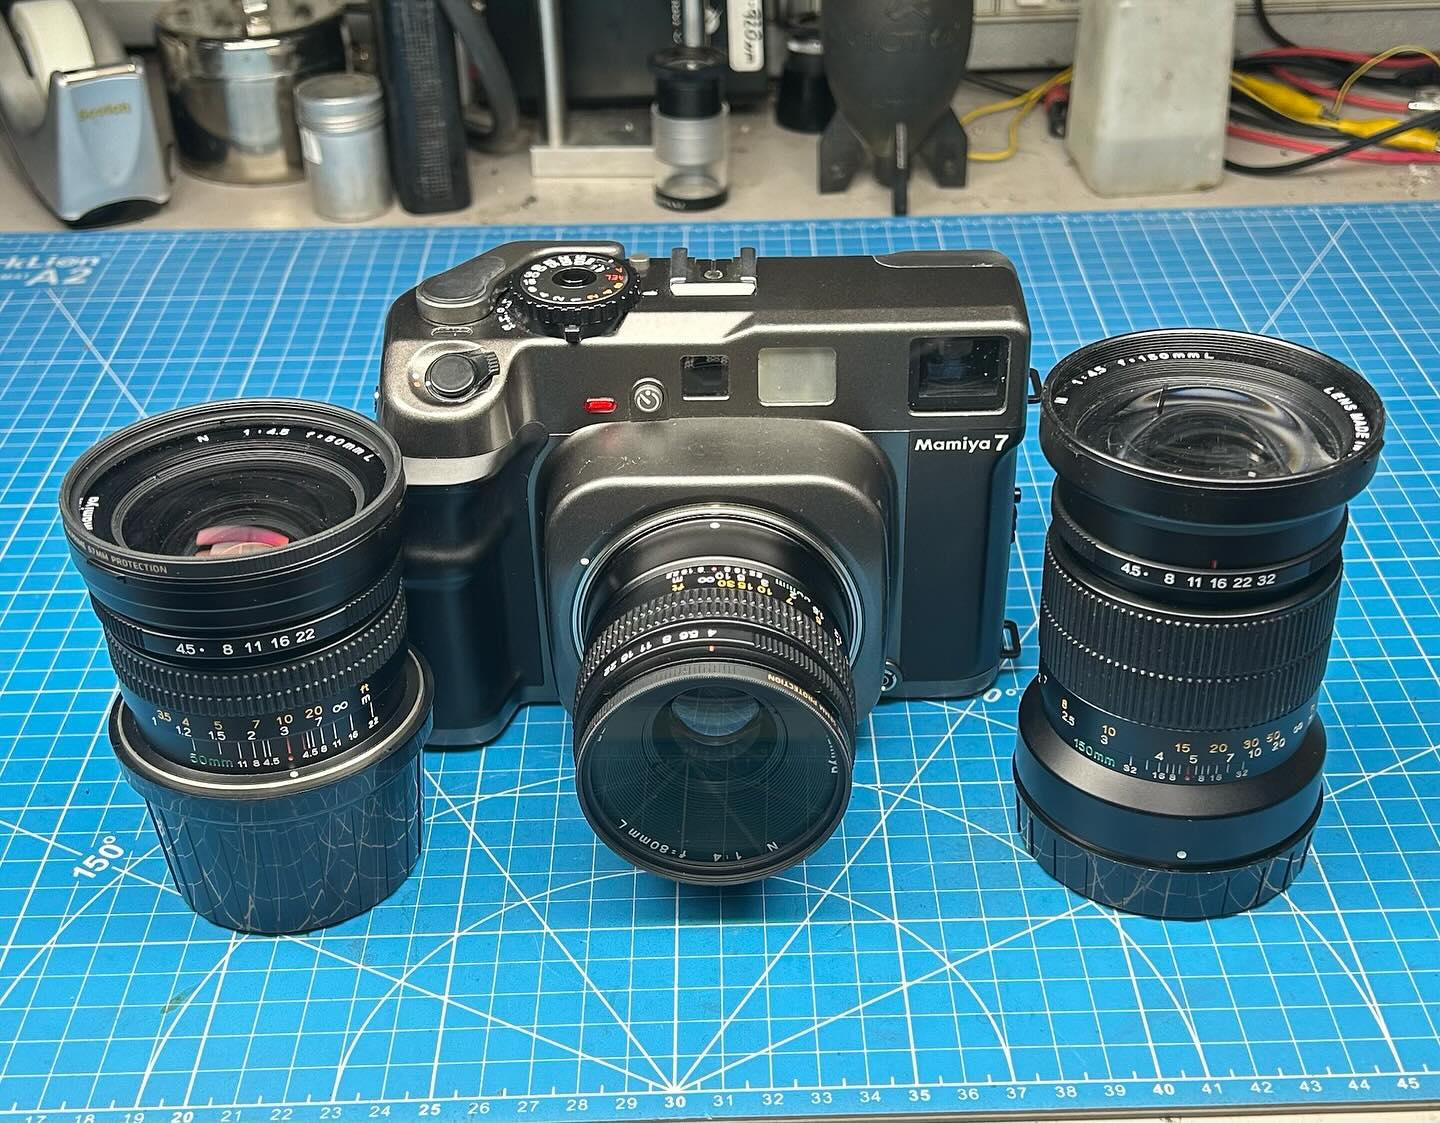
One of the most common services that I provide is rangefinder calibration on the Mamiya 7/7II. While it may seem like a simple process, the details can go a bit deeper.
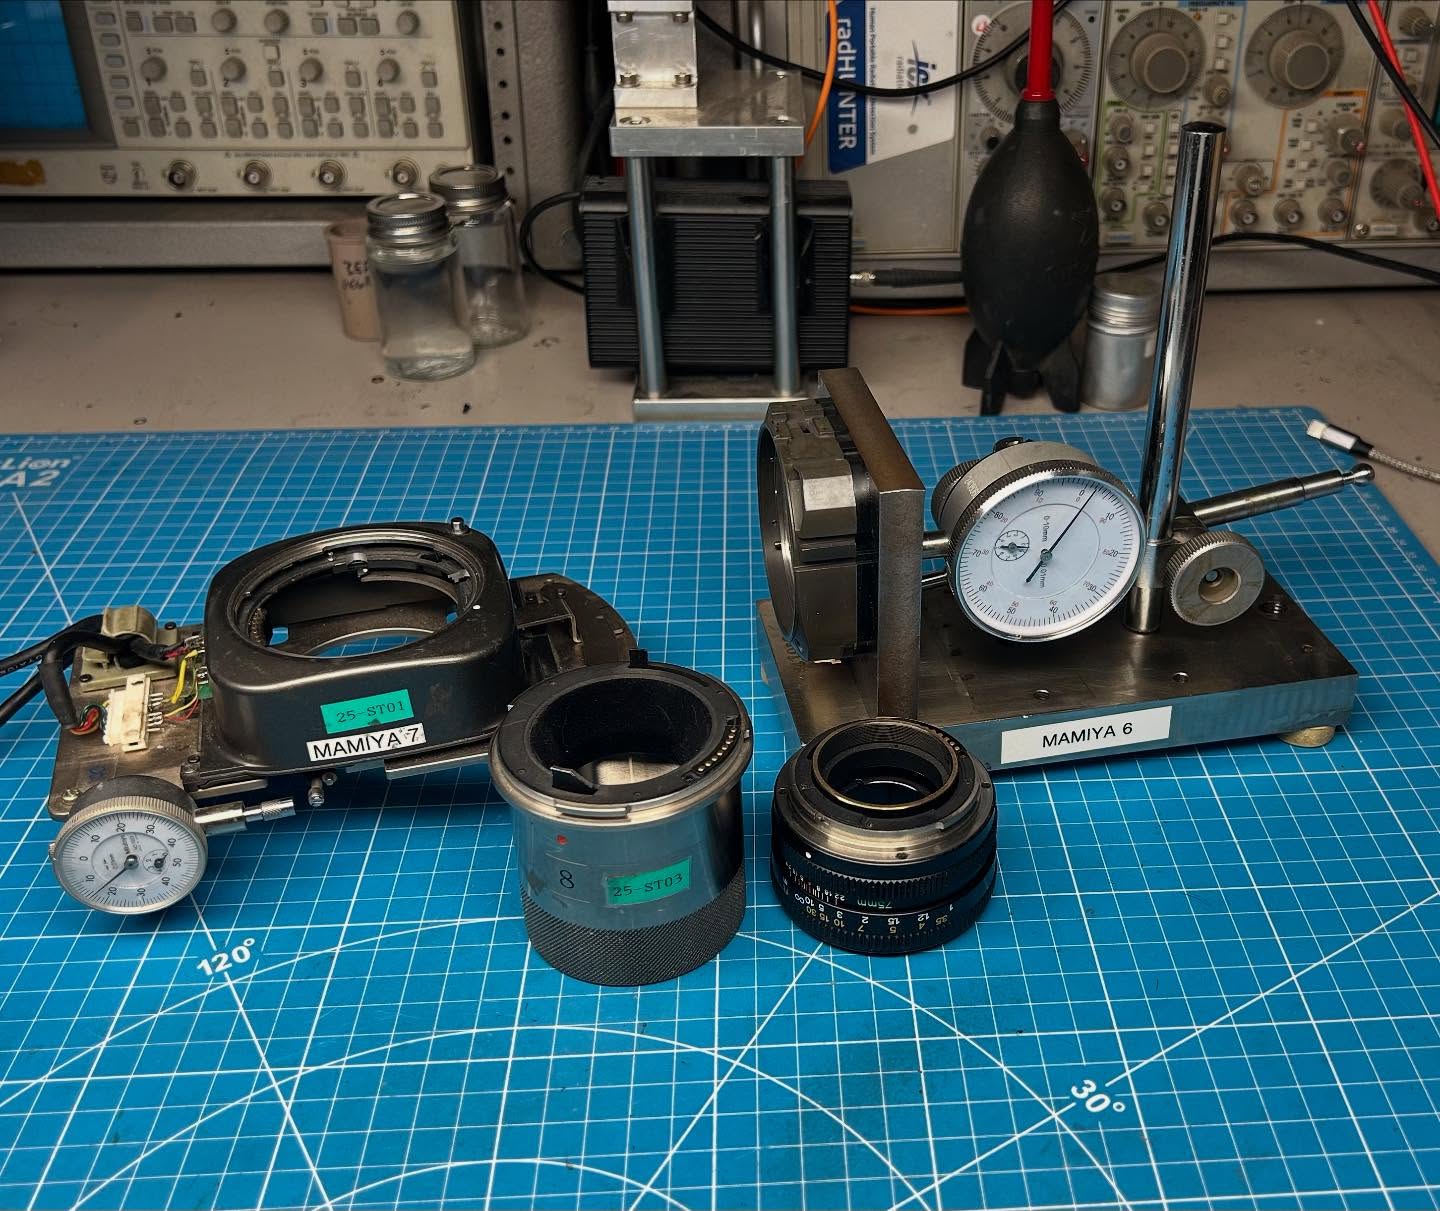
To begin with, there is a small spot on the back of the camera that is often called the rangefinder adjusting port. It is not. Well, in a way it is but that port is used to touch up the rangefinder after it has been adjusted and the top cover has been replaced. The rangefinder can not be adjusted fully (infinity, one meter and vertical) without removing the top cover. If you just make adjustment through this port for infinity, that can/will throw off the one meter adjustment. It is often a balance of going back and forth between infinity and one meter calibrations.
Also, if you are going to calibrate this rangefinder, be very careful of the adjusting screw. It is sealed in place and unless you release the sealer (I use a tiny spot of acetone) it will get damaged and need replacing. And, the slot is thin and easily cracked. Photos two, three and four show the adjusting screws on some cameras that I serviced during the last two weeks. These all needed to be replaced as the slot was damaged.
Photo five shows the setup that I usually use here in the shop for adjusting the rangefinder on the Mamiya 6/7/7II. It consists of two fine black lines drawn on on white background spaced exactly 60mm apart. The 60mm distance is the spacing of the rangefinder windows on the Mamiya 6/7/7II. Using this chart, I can calibrate the rangefinder for infinity, one meter and vertical while sitting at my bench.