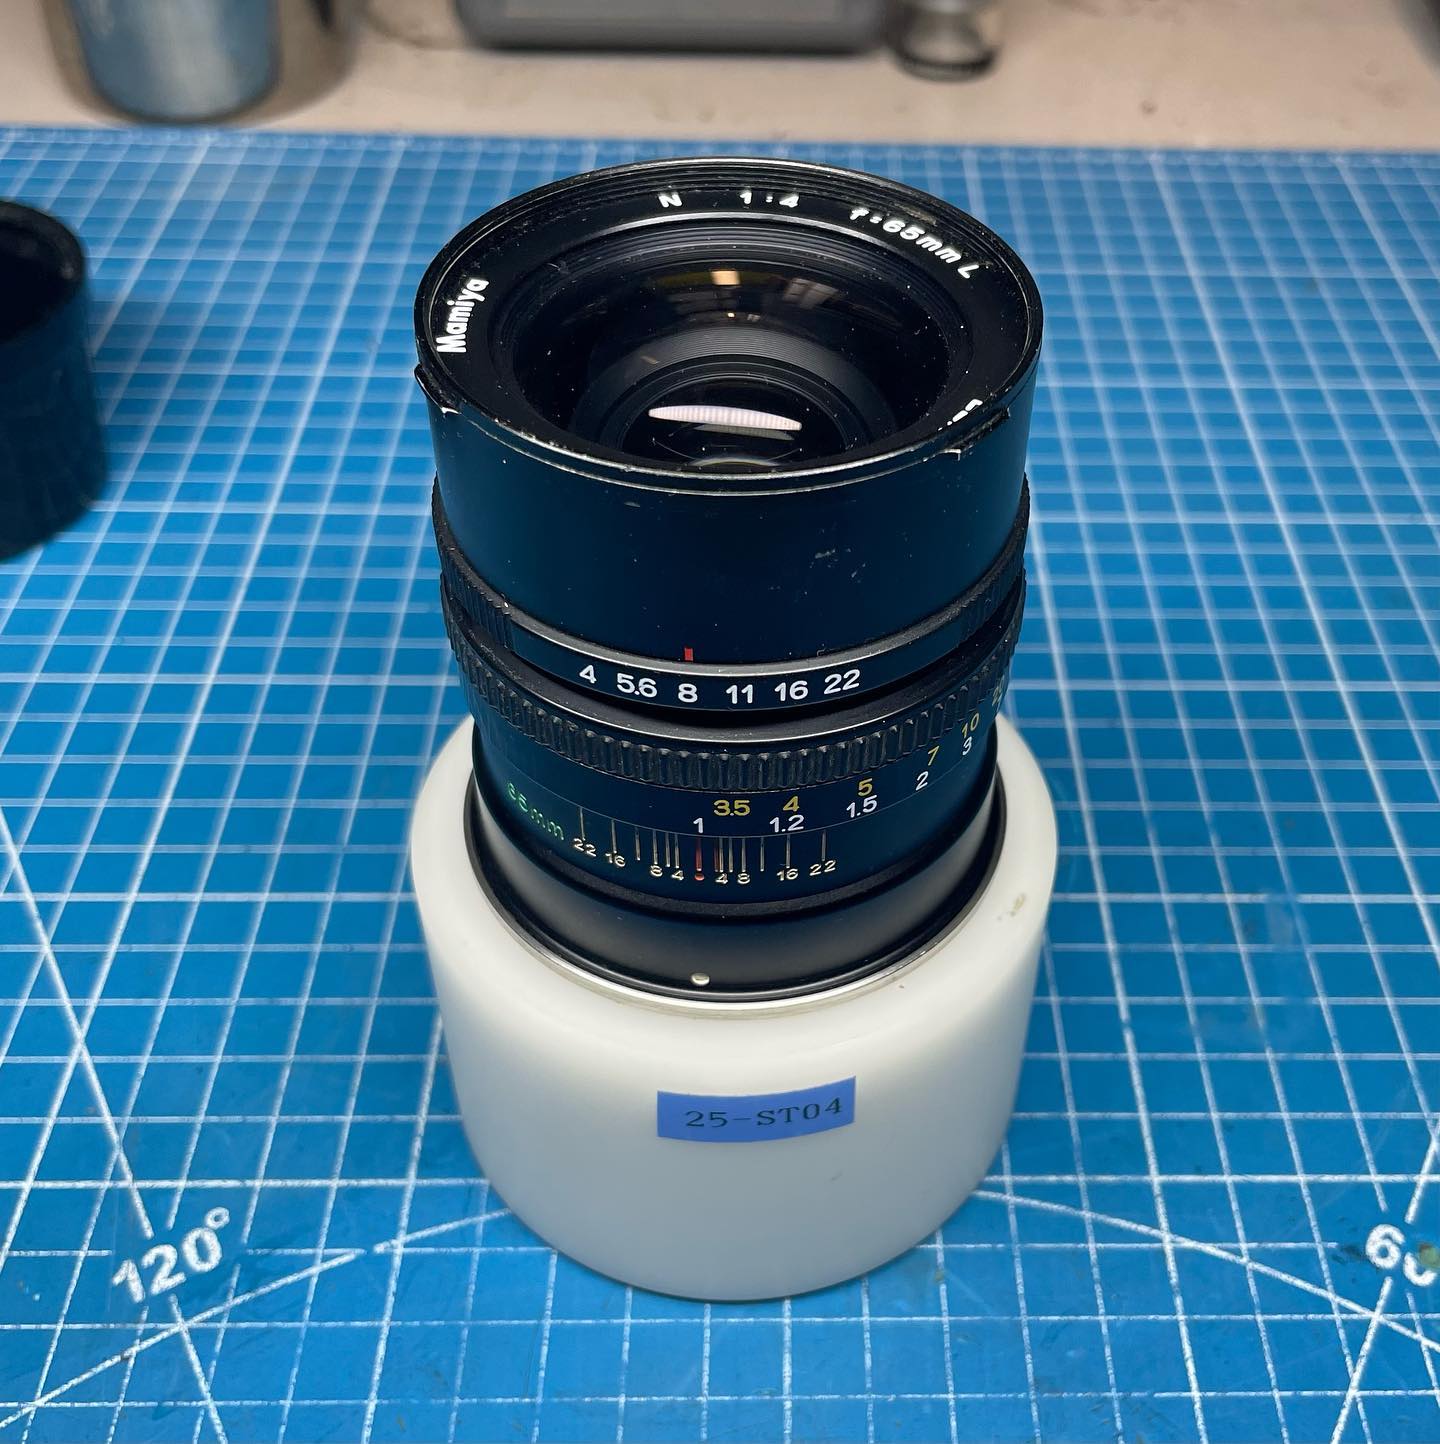
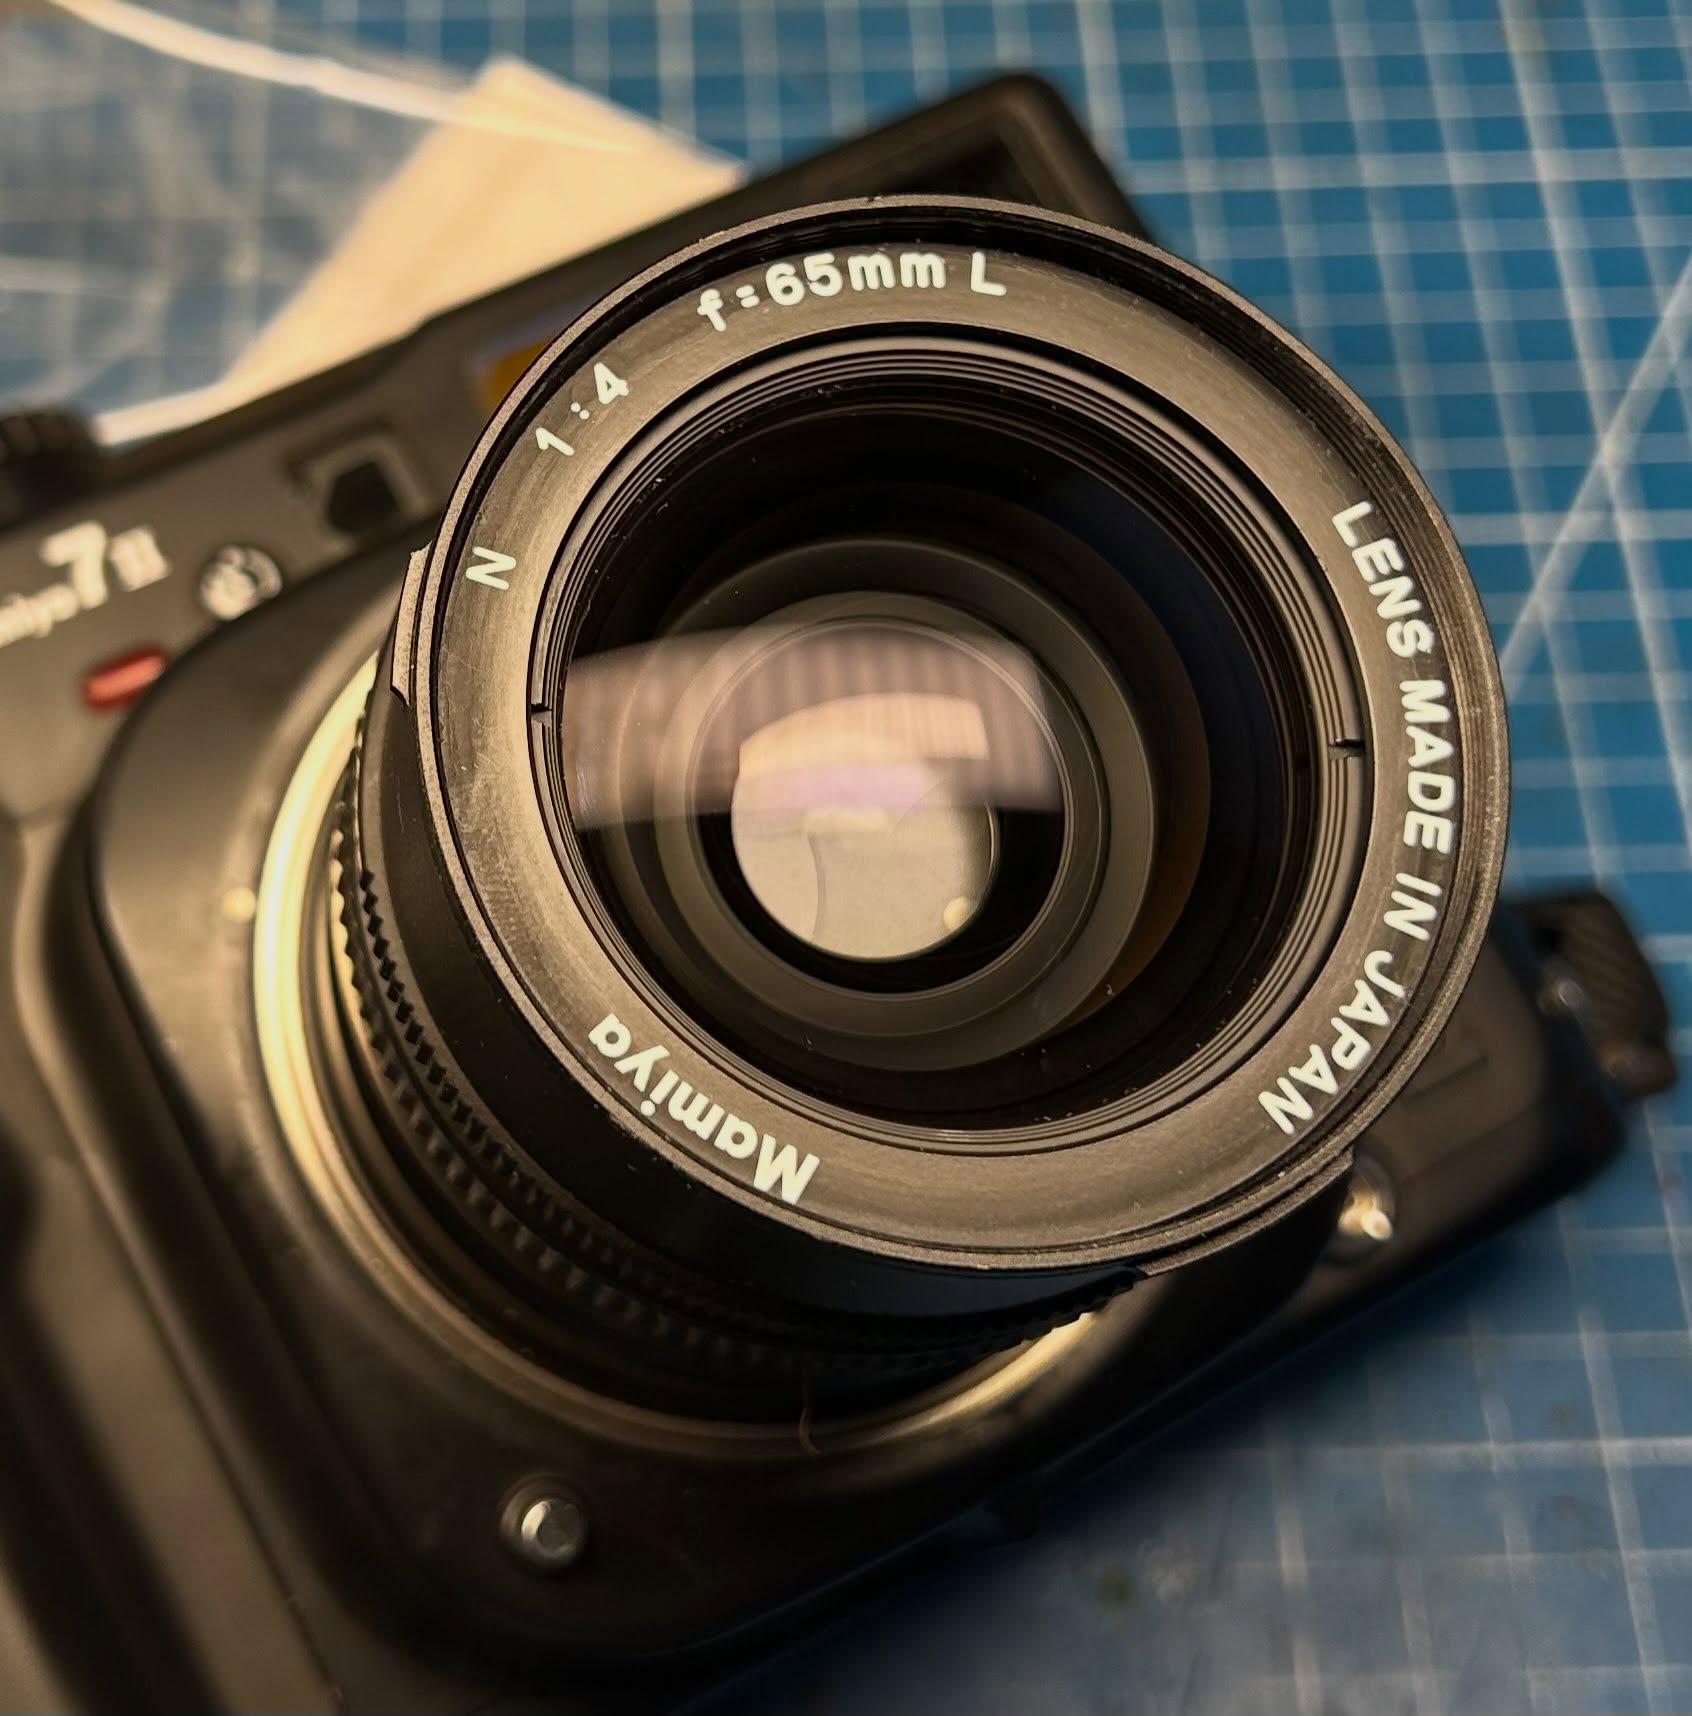
Mamiya 7 65mm Lens: Replacing the Broken Flex Cable
Originally posted on Instagram. Notes from the repair bench, kept here as a searchable archive. View the original on Instagram
Since I am servicing a Mamiya 7 65mm lens I thought that I would do my yearly post on replacing the flex cable. Common complaint with this lens is that the overexposure light blinks in the finder and the meter is inoperative. This is caused by a broken flex cable that transmits the aperture information in the lens to the rear contacts.
The solution for this problem is to replace the flex cable (I have seen some lenses that had the broken flex cable patched but it really is better to replace the cable).
The video shows this lens on a test fixture which reads the signal from the lens aperture ring. In this case, at infinity, all appears well and we have a stable output. When the lens is taken off infinity, the flex cable, well, flexes and breaks connection.
This repair takes a lot of disassembly of the lens, including removing the rangefinder unit. The four screws holding the rangefinder unit in place are very tight and held on with a sealer as shown in photo two. Unless you have a technique for removing these screws, just turning them with a screwdriver will very likely end up with stripped heads.
Photo five shows the flex cable and if you look closely you can see the split in the cable. It starts with one trace and then goes to the adjacent one at some point to cause more problems.
While the replacement of the cable is straightforward, there are some pitfalls to be careful of. The old cable needs to be desoldered from the contact assembly (shown in photo six ) and the new one installed. Care must be taken because too much heat during this process will melt the plastic contact assembly.
Of course, since the rangefinder assembly needs to be removed, calibration of the rangefinder cam is necessary.