Mamiya 7 Lens Checkout: Rangefinder Cam, Flex Cable and Filter Tests
Originally posted on Instagram. Notes from the repair bench, kept here as a searchable archive. View the original on Instagram
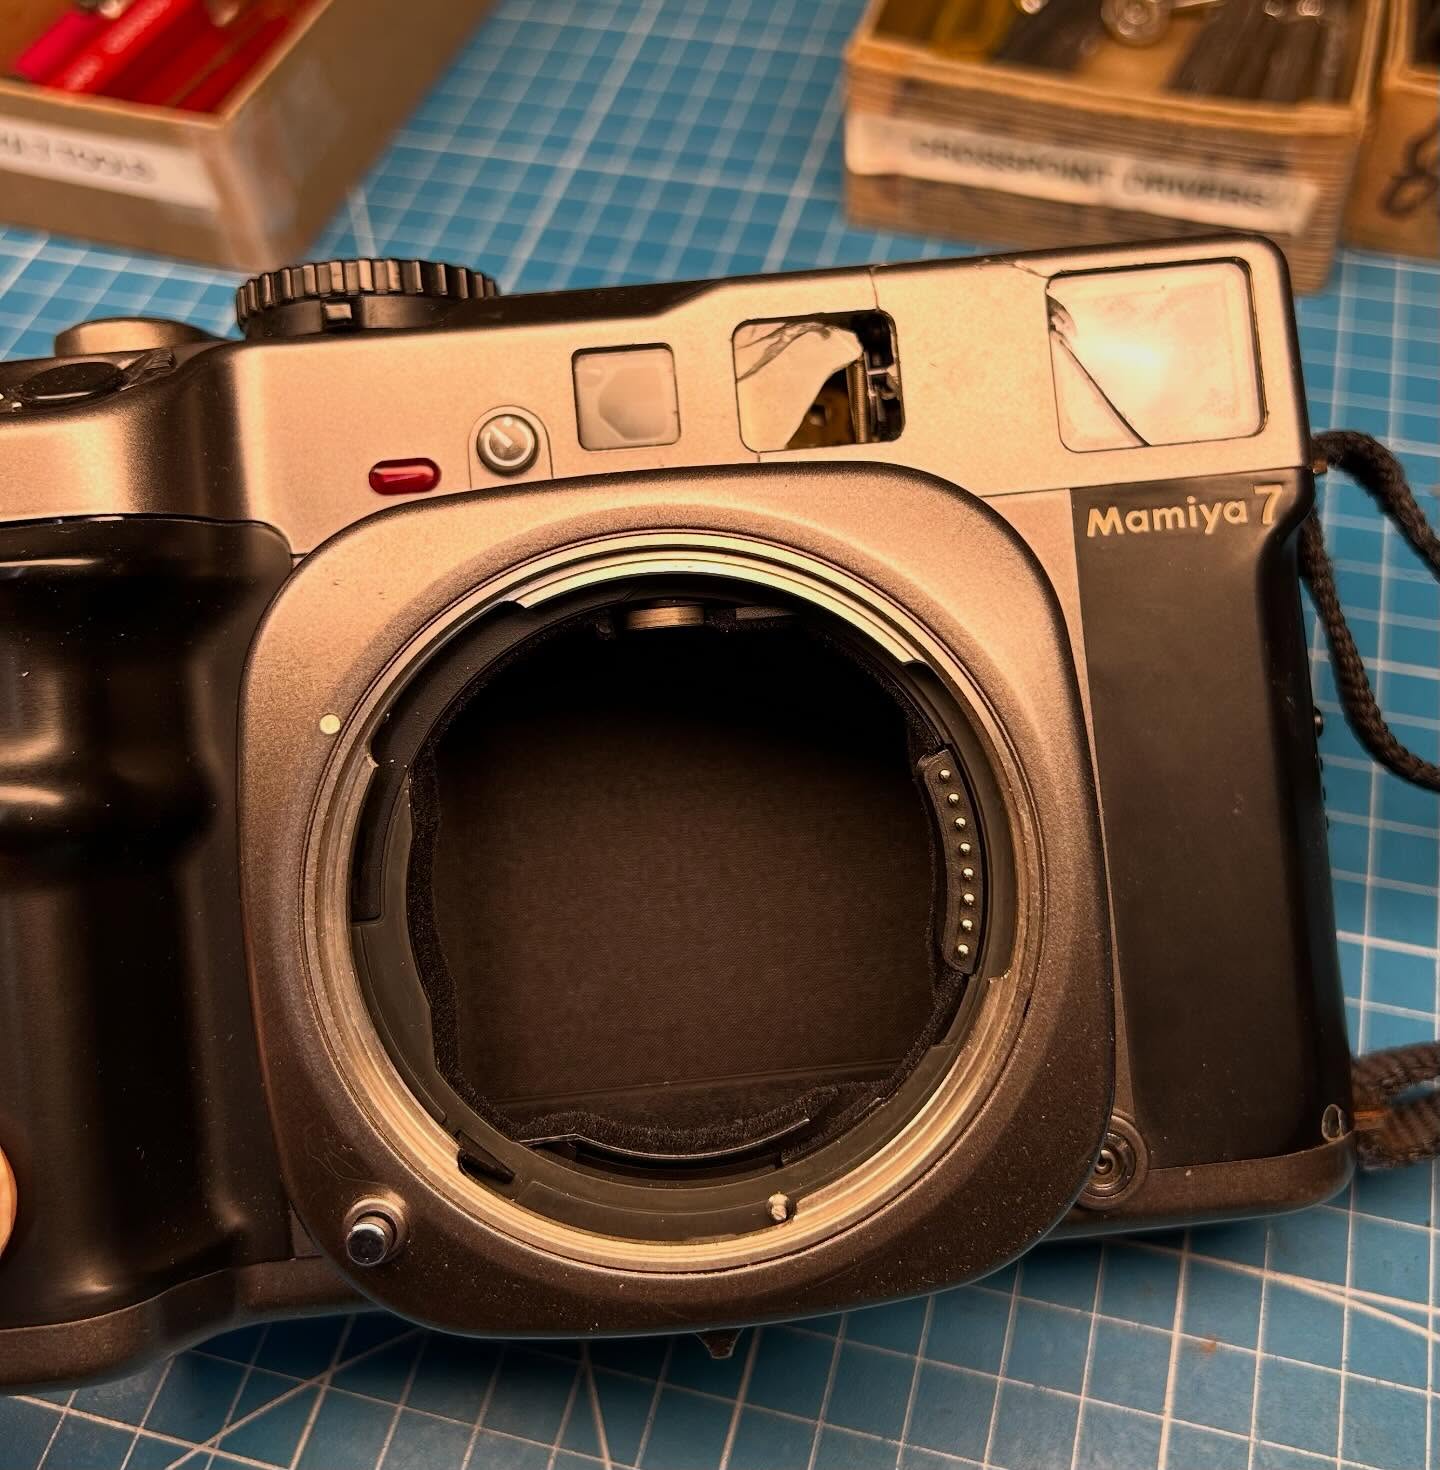
Probably the most commonly done service here in the shop is rangefinder check/adjust on Mamiya 7 cameras and lenses. This outfit came in with complaints of rangefinder error.
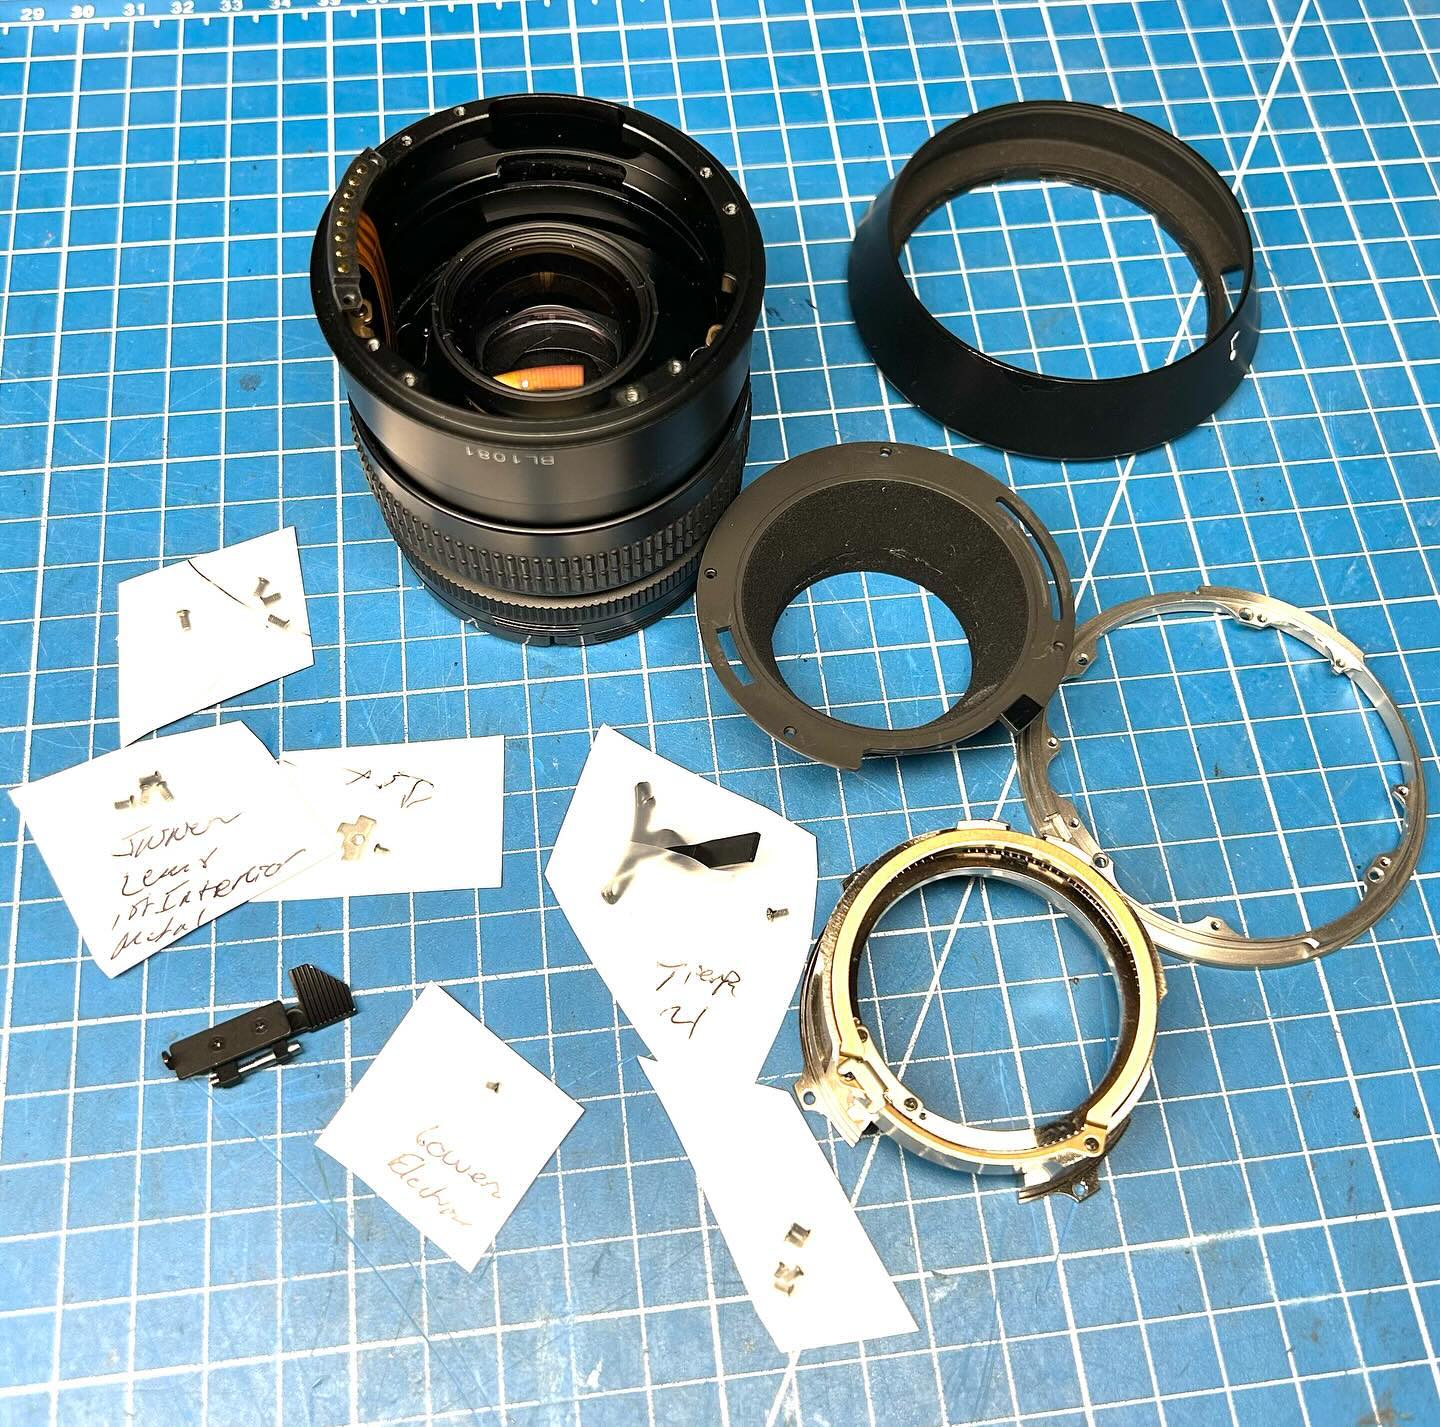
Normally, it is the body rangefinder that needs calibration. But, each lens also has an adjustment for the rangefinder cam but normally this adjustment is fine unless the lens has been taken apart for a repair at some point.
The photos in this post show the procedure for lens checking that I have developed when lenses are sent with the camera for service.
The second photo is the first thing that I do, install the factory rangefinder standard in the test jig to calibrate it to zero (infinity). Then, shown in photo three I install the lens under test to see how close the rangefinder cam is to zero on the dial indicator (specs are -0.015 to 0.00mm). This lens tested almost exactly at 0.00mm so it is fine.
The video shows the next test in the procedure that tells me if the diaphragm resistor and most importantly, the flex cable is working as it should. A damaged flex cable will cause the VOM to read open.
Next in line is checking the lens with a calibrated mirror standard underneath to examine lens focus on an auto collimator as seen in photo five.
Finally, if a filter was included with the lens, I put it on the optically flat mirror shown in photo six to check for plane parallelism of the filter surfaces.
Photo seven shows the results: this filter, a Hoya NXT Plus, is not ideal as the surfaces are out of parallel by almost five minutes of angle. Most of the newer B+W filters are a lot closer to zero error.