Mamiya 7II: Replacing the Cable Release Socket
Originally posted on Instagram. Notes from the repair bench, kept here as a searchable archive. View the original on Instagram
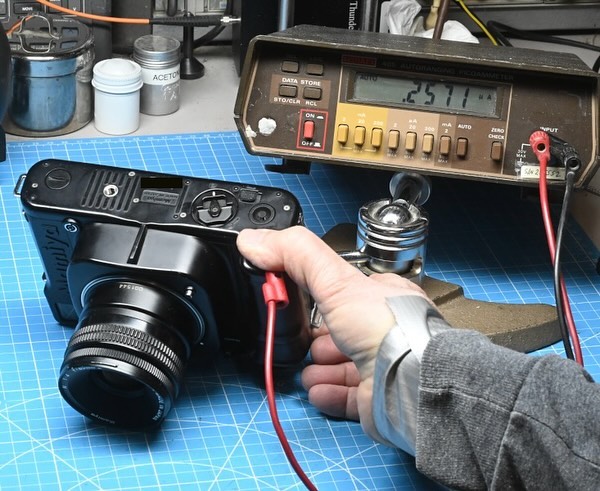
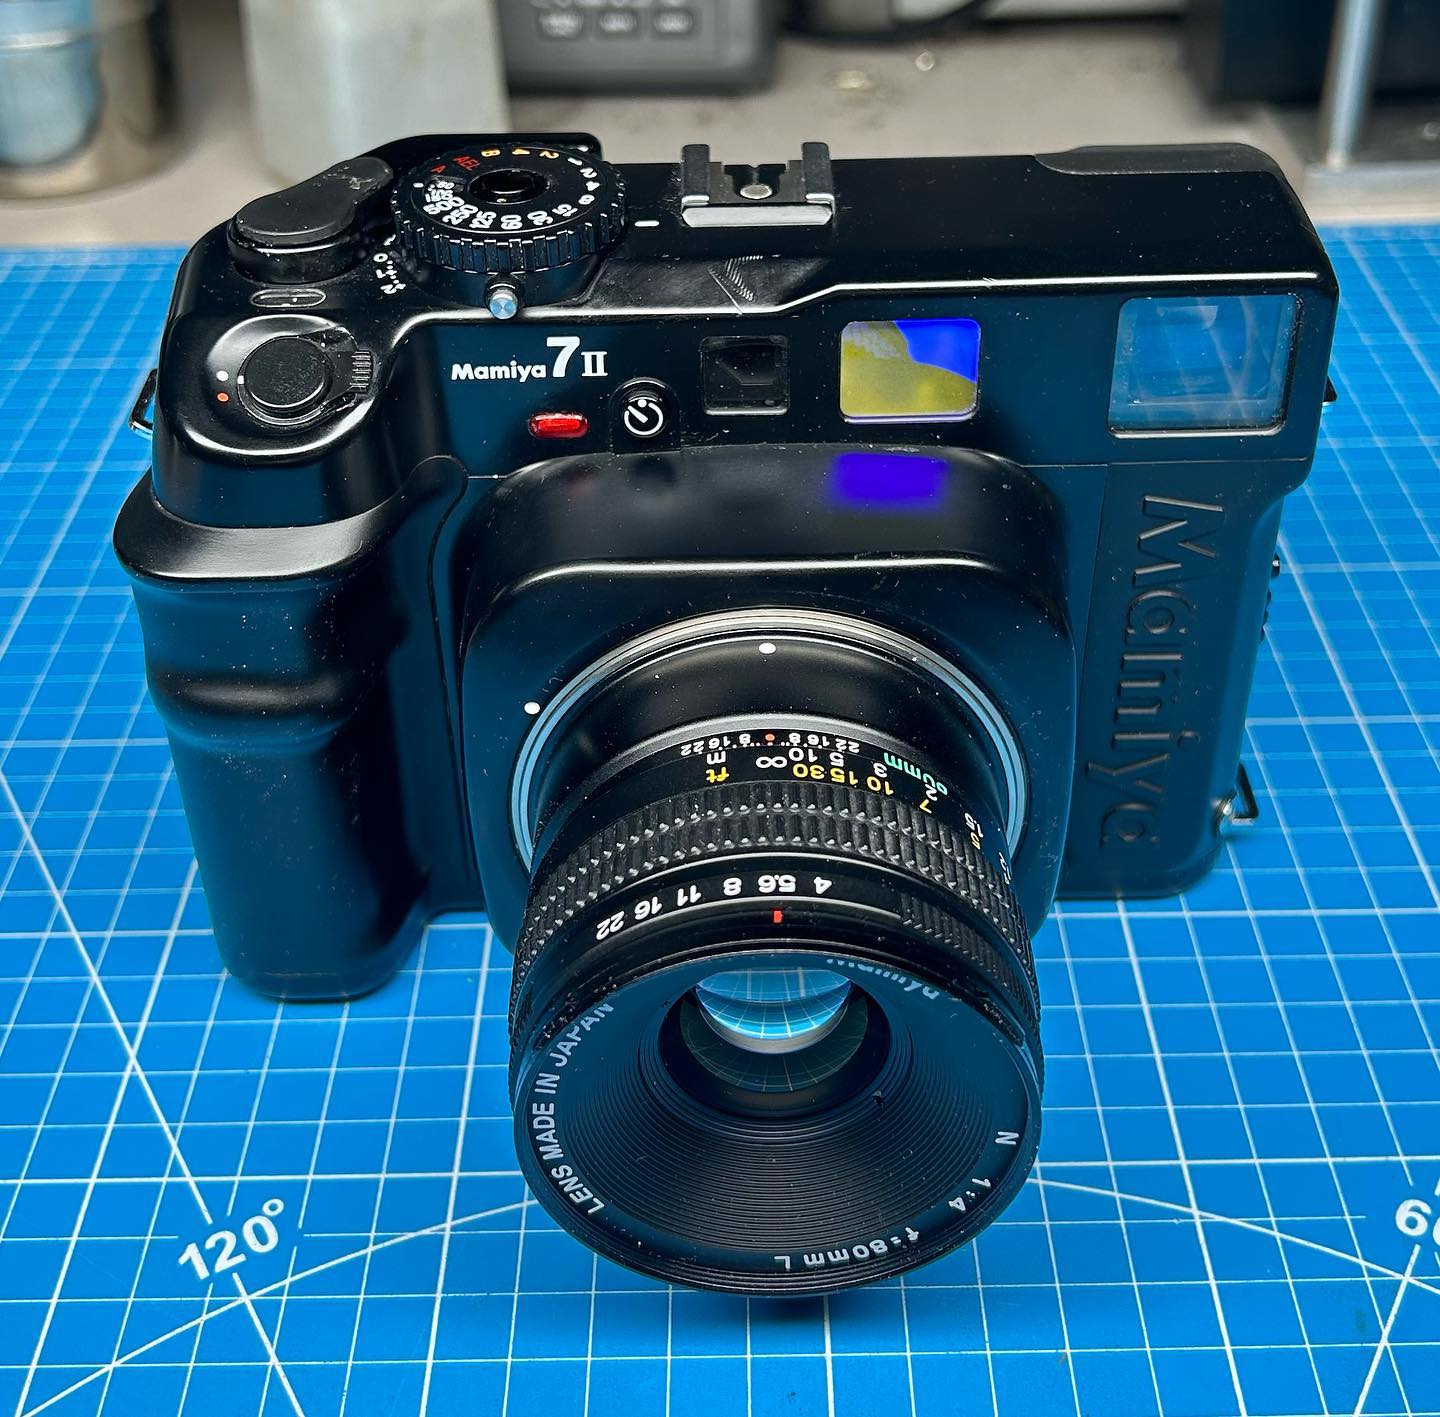
Replacing the cable release socket on a Mamiya7II. Mamiya made a major change in the cable release socket from the model 7 to the model 7II. On the Mamiya 7, the cable release socket is mechanical and located on the top cover and on the Mamiya 7II, it is electronic and located on the front of the camera although they both use a standard mechanical cable.
On the Mamiya 7, pressing an attached cable release moves a lever which then pushes down on the shutter release button. On the Mamiya 7II, pressing a cable release just makes electrical contact with a switch to release the shutter. I would caution Mamiya 7II users to be gentle with using a cable release as it only takes a few millimeters movement of the cable release to activate the shutter and if you press fully on the cable release, you may damage the switch or the socket (some cable releases have a 20mm throw!)
This particular camera had the cable release socket removed from the body and from the photo you can see how chewed up the threads were. In this case, I installed a new socket and attaching nut. There are only a few threads visible to attach the nut to, so it’s important to use a thread sealer to keep this in place.