Mamiya Universal and Super 23: Rangefinder Adjustment With a Jig
Originally posted on Instagram. Notes from the repair bench, kept here as a searchable archive. View the original on Instagram
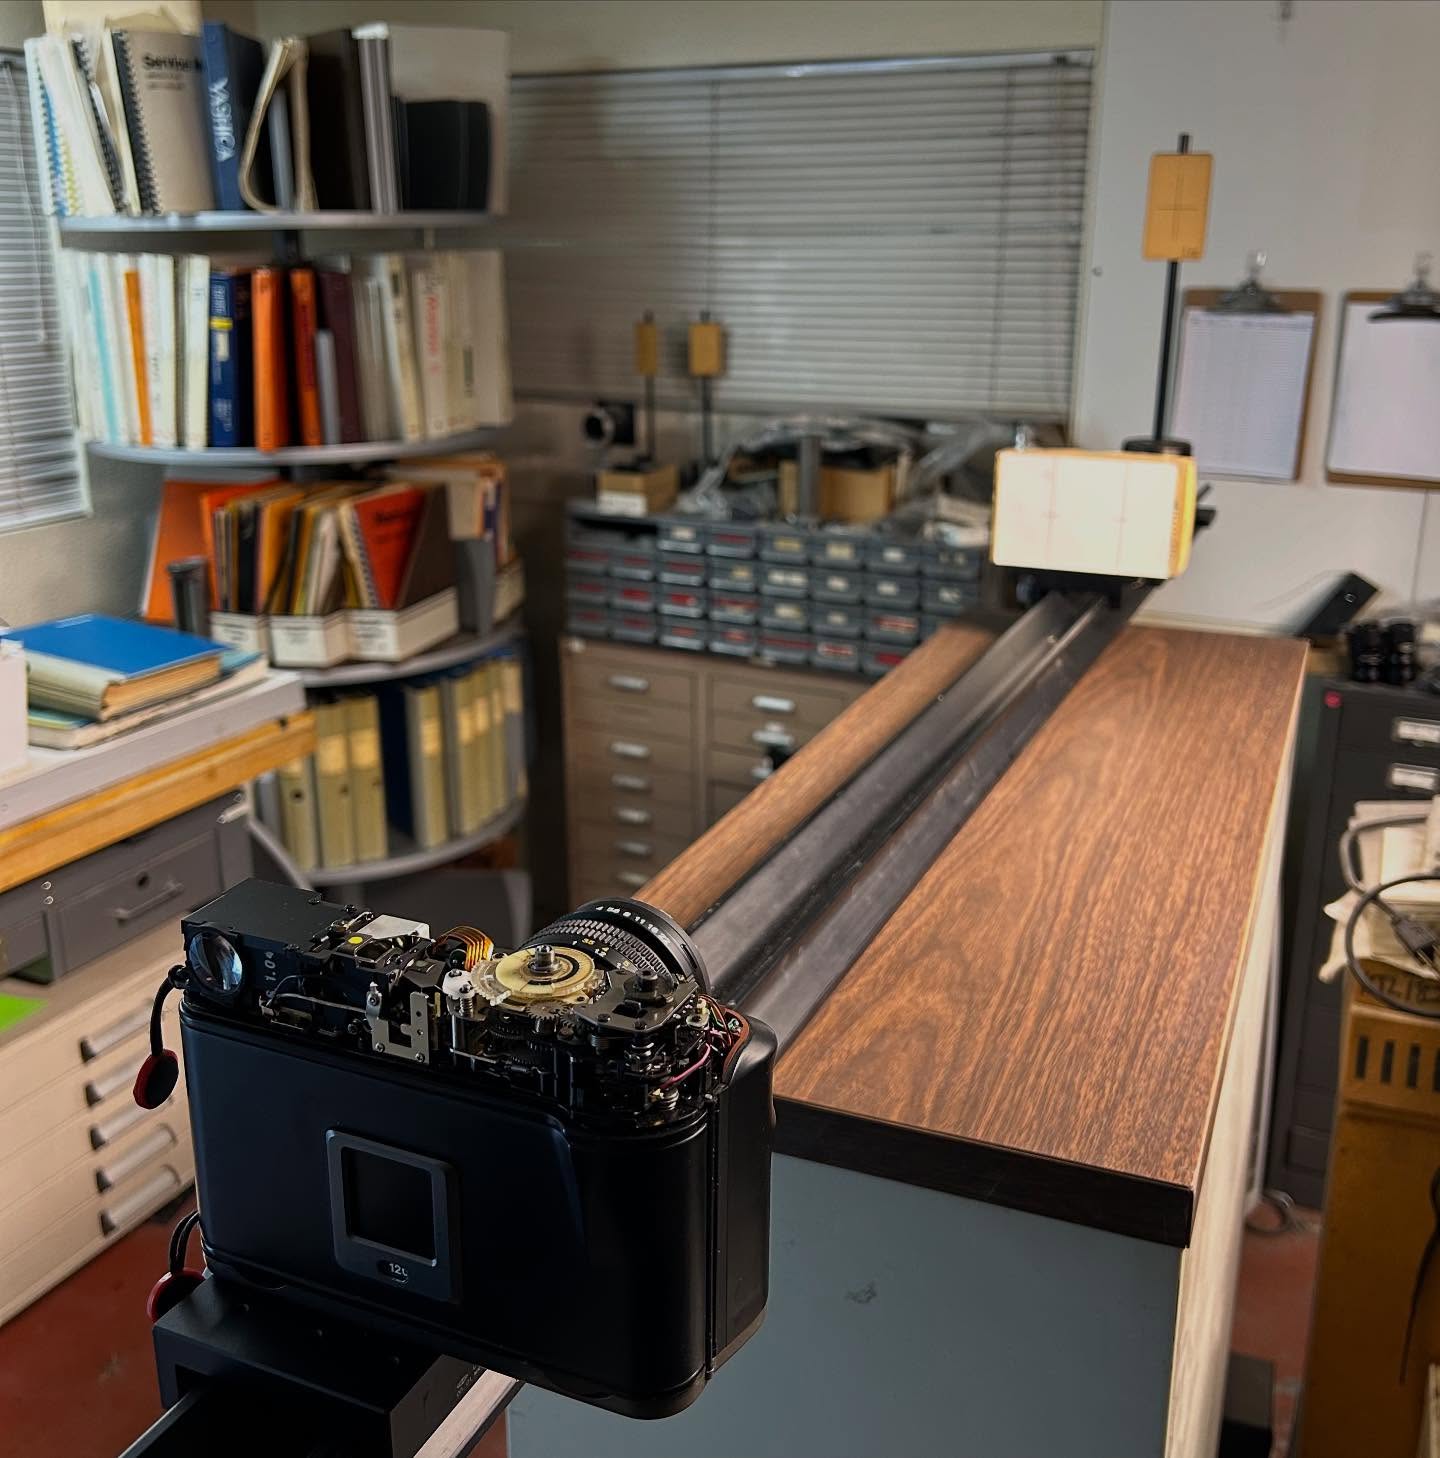
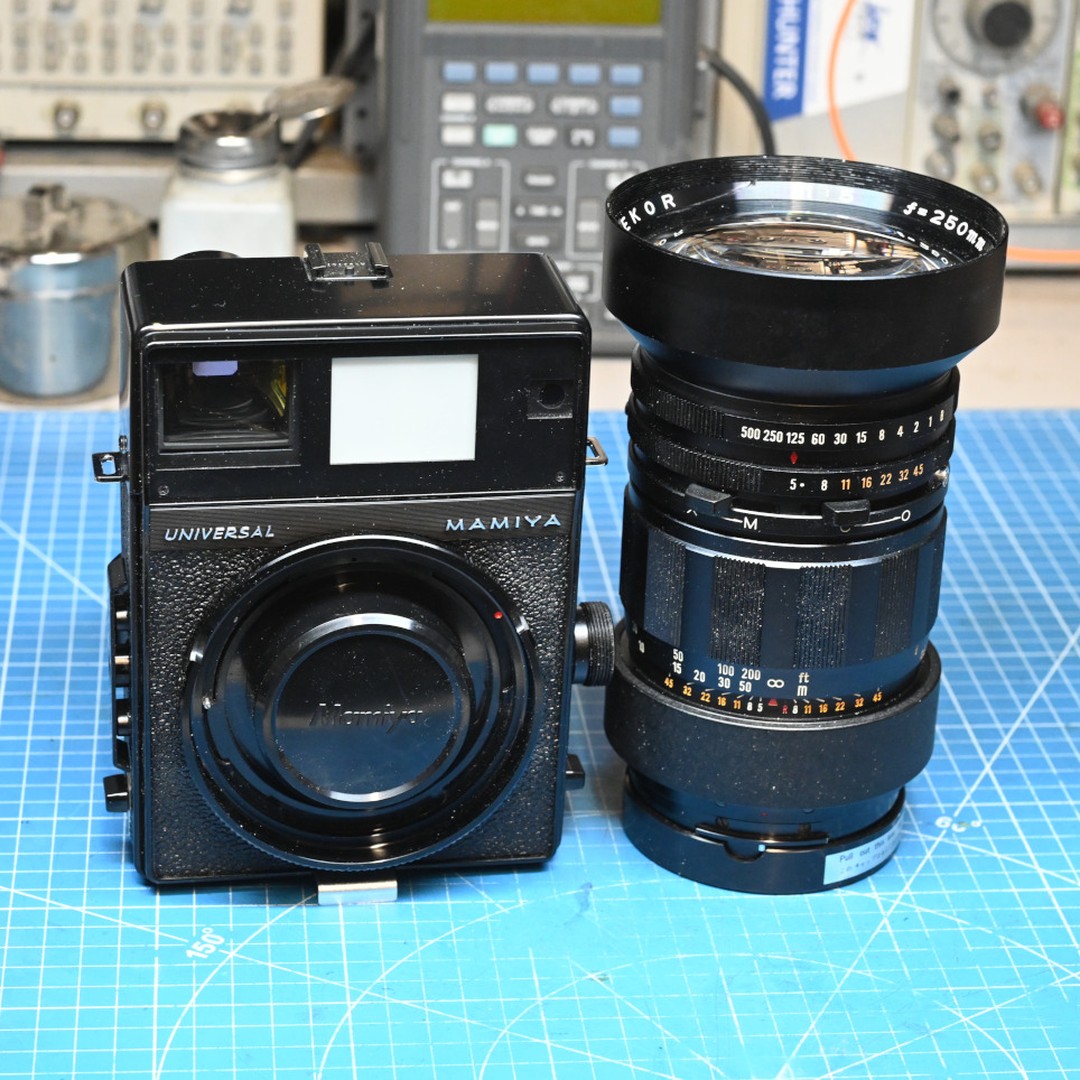
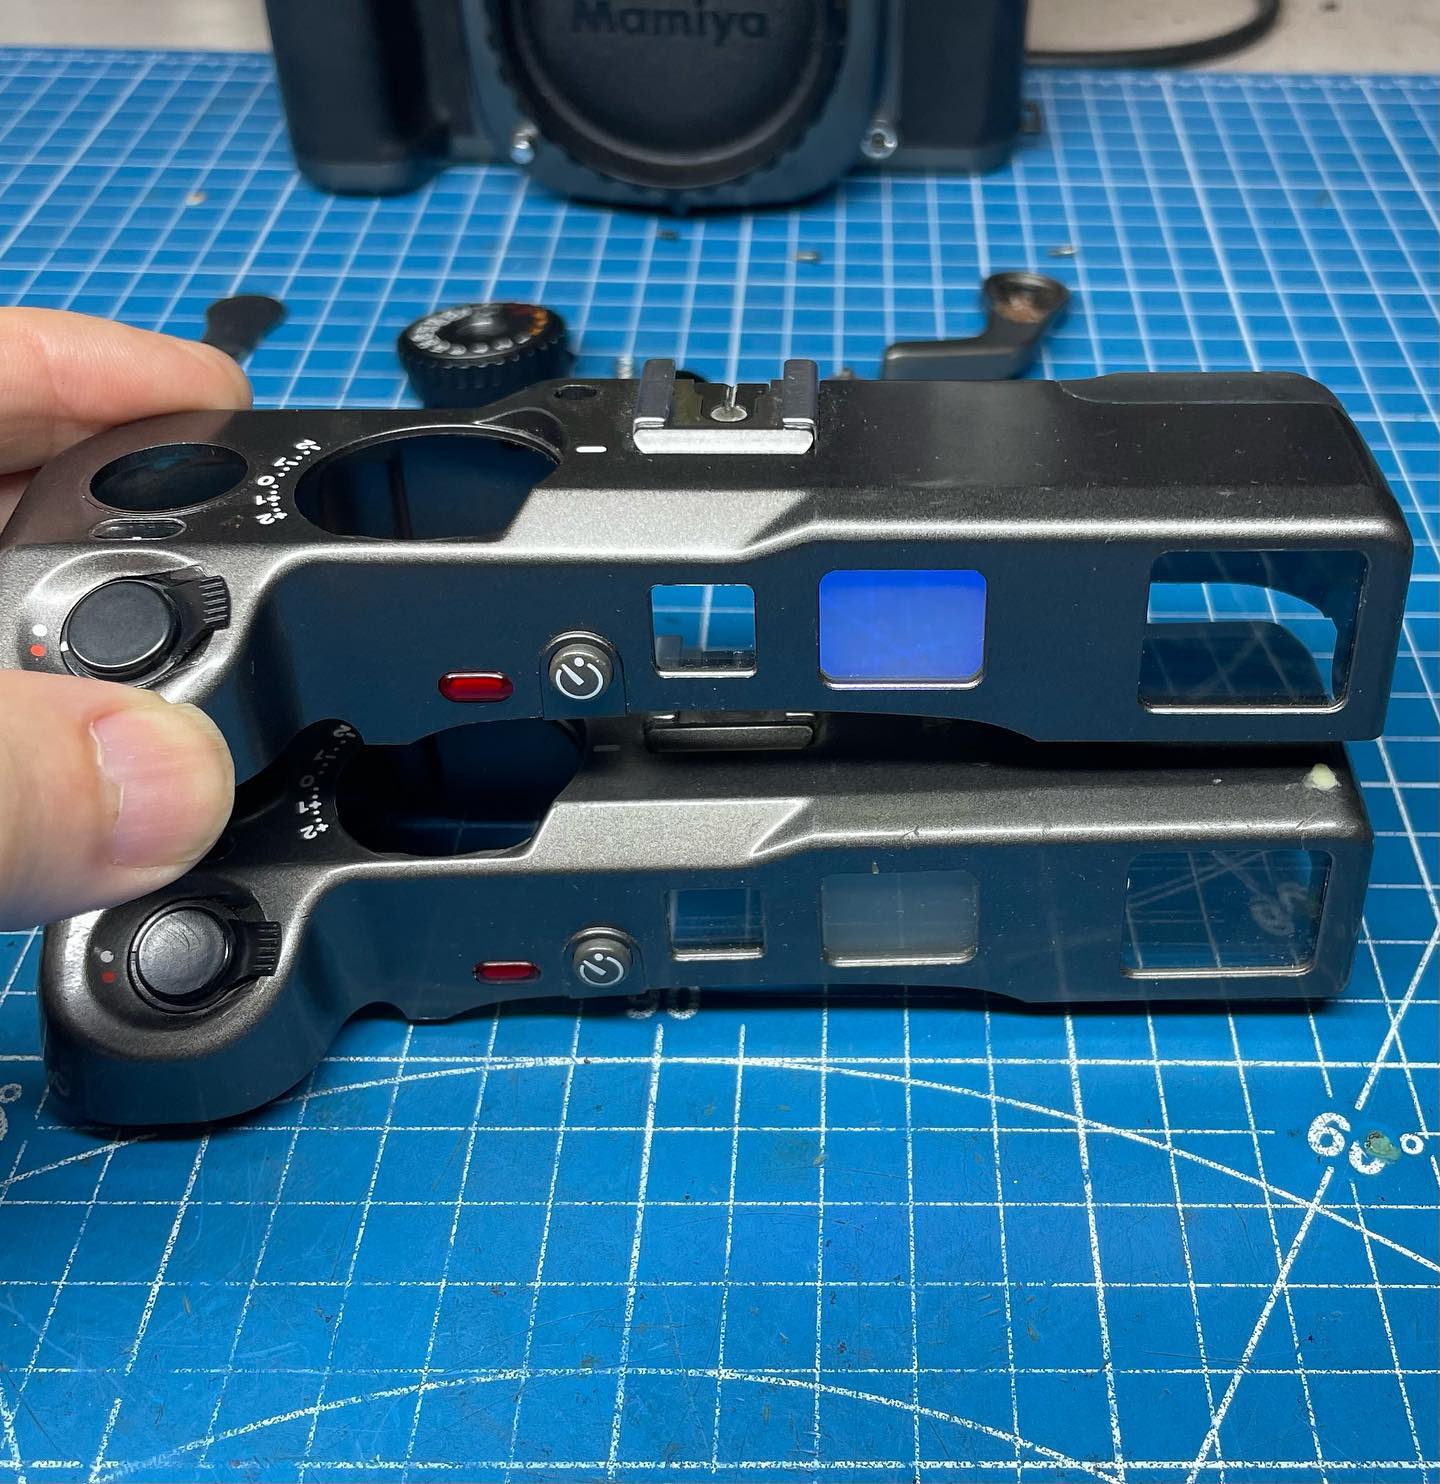
When adjusting the rangefinder on the Mamiya Universal or Super 23, I always remove the complete rangefinder assembly for two reasons: 1.) this gives access to the back of the front viewfinder glass for cleaning and 2.) it allows the rangefinder positioning jig to be installed for adjusting the rangefinder lever. The jig can be seen in photo four installed and ready for adjusting the range lever. After the rangefinder is installed back on the body, adjustments can be made for infinity, one meter and of course, for vertical alignment. Photo five shows the special eyepiece cap with a 2mm hole in the center that allows you to focus on the rangefinder spot dead center. The last photo shows a focus/rangefinder test lens for these bodies. It is made up of a 90mm lens mount with a 90mm lens fixed in place (no shutter or diaphragm).
Although it might seem a bit obsessive to go through all these steps to adjust the rangefinder on these cameras, it really is the only way I can hand back a camera to the user and tell them that it is calibrated to factory specs.