RZ67: Extracting a Broken Screw Stud From the Cocking Shaft
Originally posted on Instagram. Notes from the repair bench, kept here as a searchable archive. View the original on Instagram
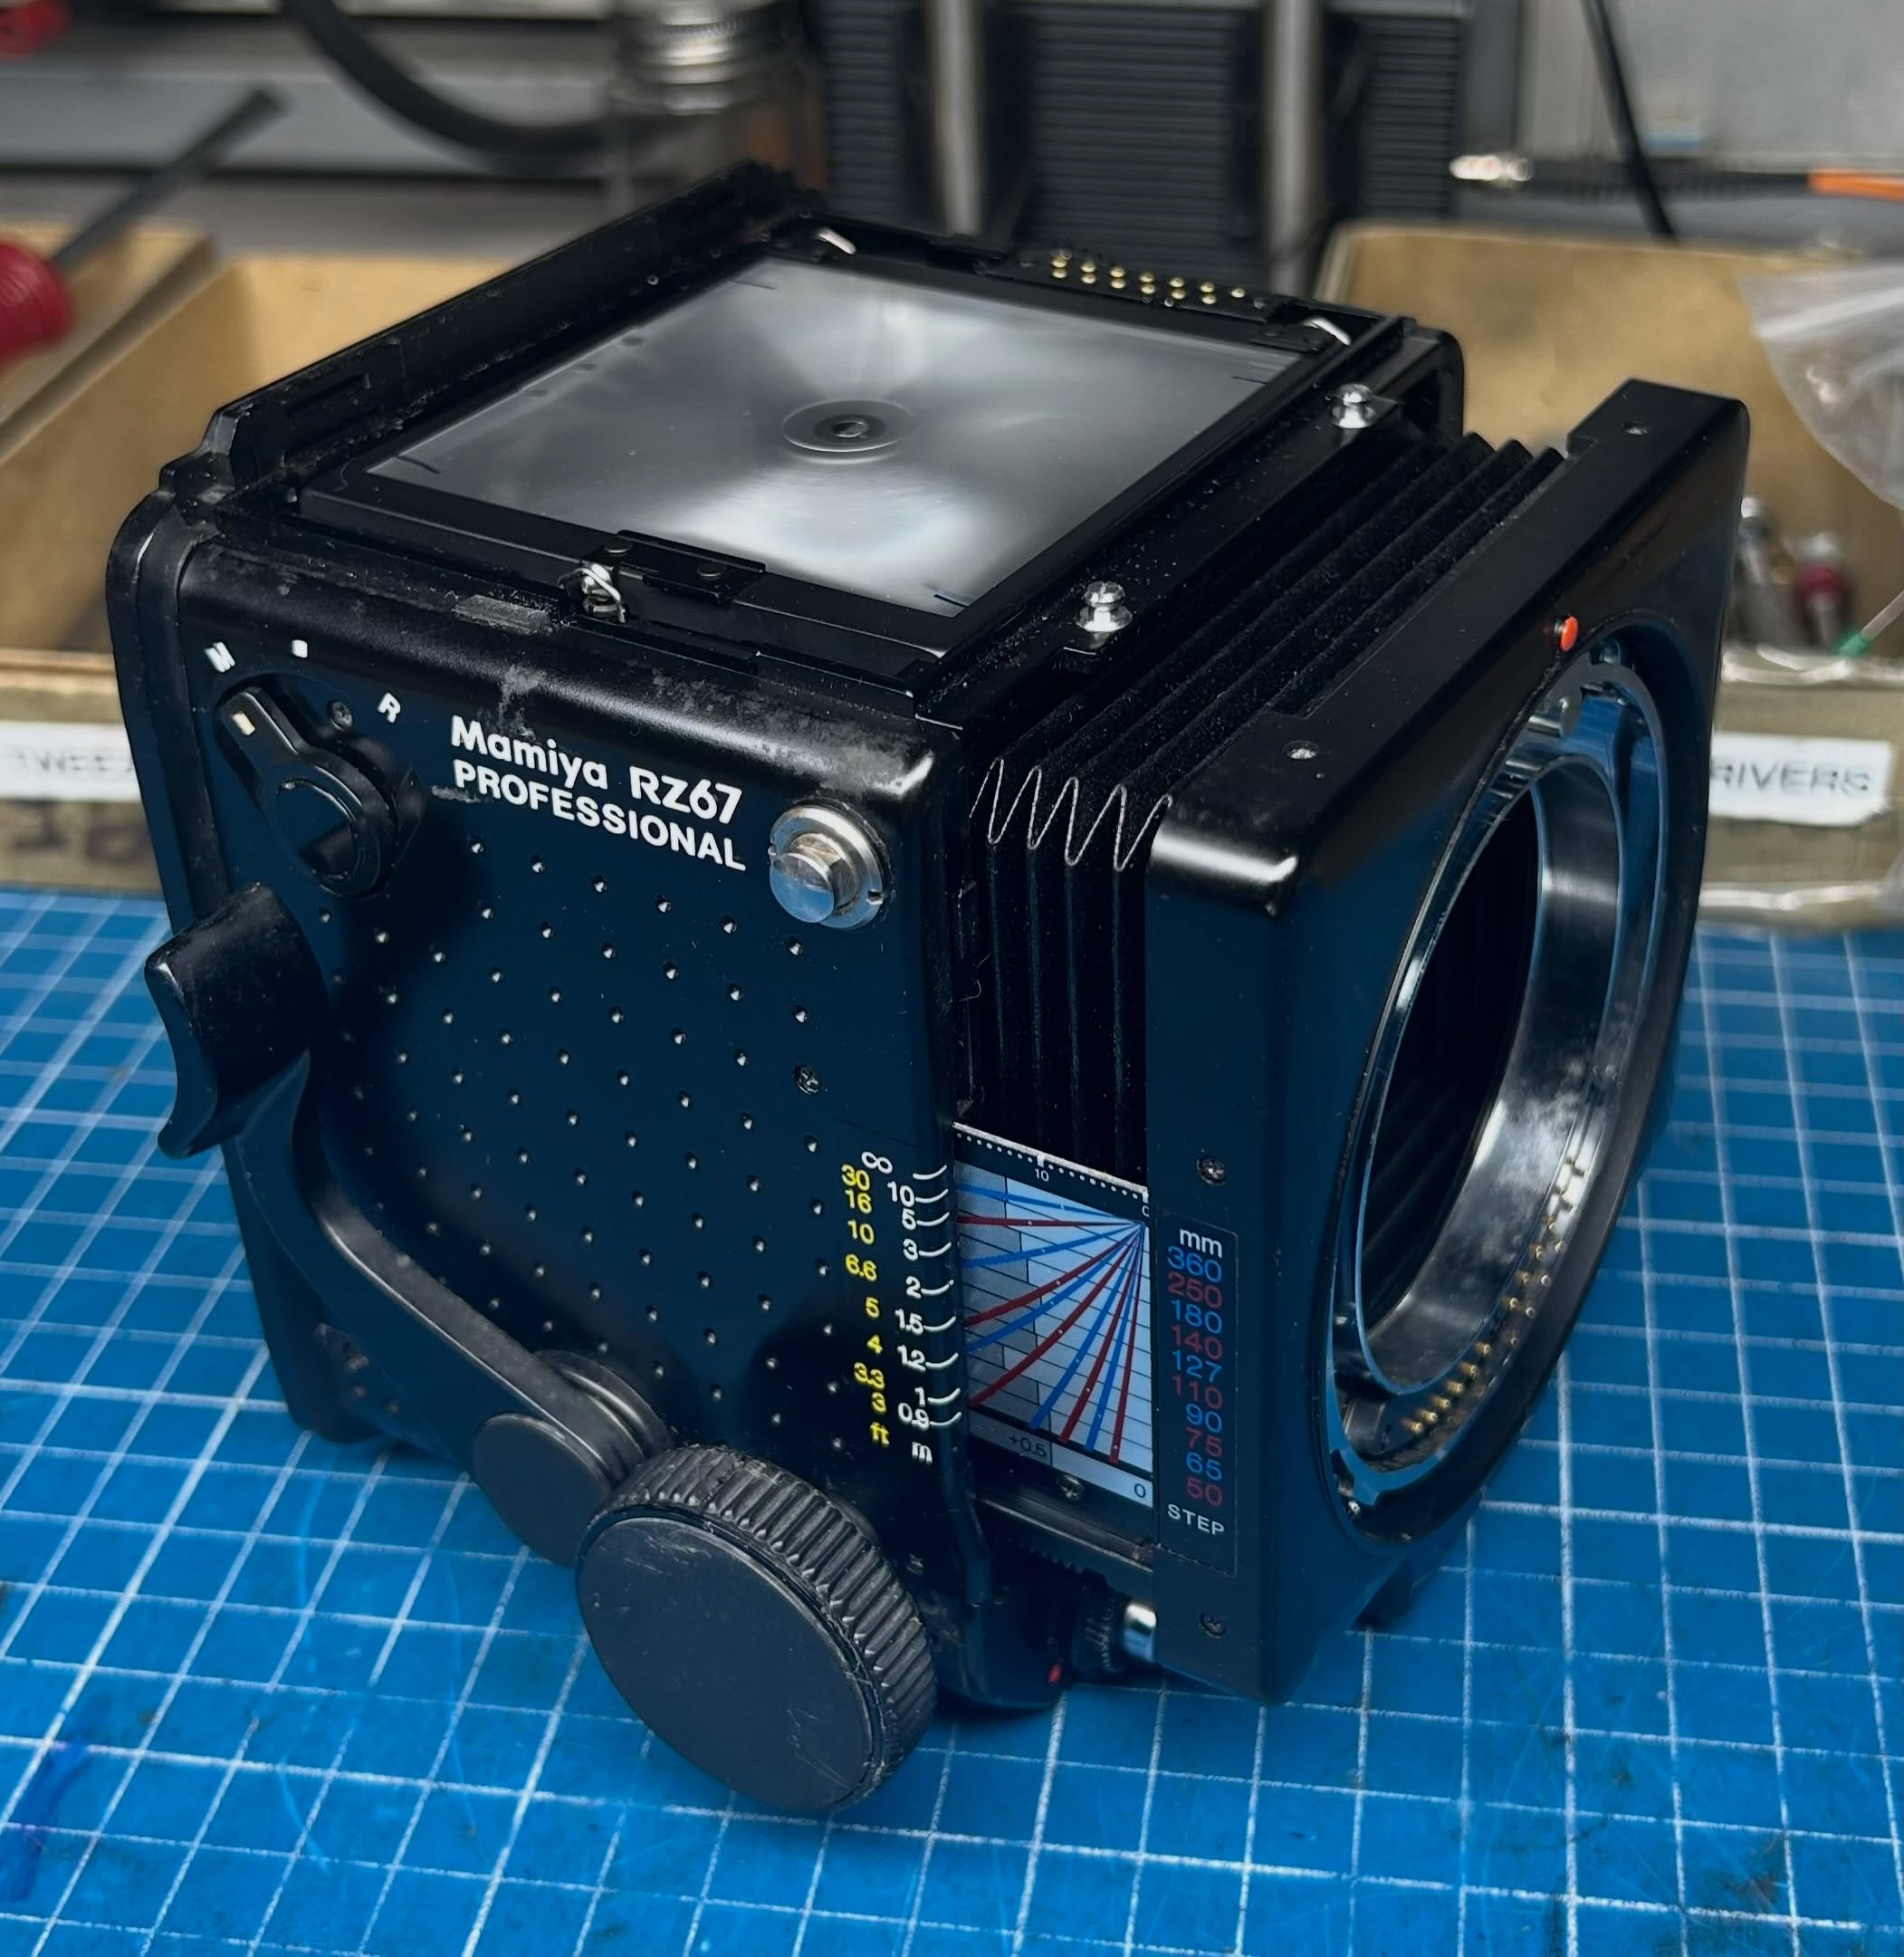
This RZ67 arrived with a broken screw stud in the cocking shaft as shown in photo two. I normally can work these broken studs out with a pick but this one would not move as threadlock may have been used in the installation. After drilling and re-threading with a 2.0 mm tap, it now looks like photo three and is ready to accept a new cocking lever attaching screw.
Some historical information on the RZ67 winding mechanism:
Mamiya made a number of internal changes to the RZ during production, many of them to the winding mechanism. Regarding the cocking shaft that is the subject of this post, there were two versions with two styles of the early version. The fourth photo shows the two early versions with the first (1982-April 1987) using a stainless steel cocking stud. The second version (May 1987-August 1989) used a “cemented steel” cocking stud for improved strength. Both of these versions used a pressed in pin to connect to the cocking lever hub (pin and hub shown in upper part of photo).
This arrangement proved to be problematic as the pin or the hole in the shaft would wear with heavy use and cause issues with the mirror not getting fully cocked and the camera would not release the shutter. Finally, in September of 1989 Mamiya completely redesigned the cocking shaft and hub to be keyed to each other as seen in the last photo.
The original arrangement would probably work today as these cameras typically are no longer seeing constant professional use. But if you are having a problem with your RZ67 not fully cocking the mirror, this may be the issue.